Configuring the SQL Connection
Jigx will route all calls to Azure SQL Server from a Jigx mobile app through the Jigx cloud. No data is stored or cached in Jigx cloud. The encrypted SQL connection information is stored in non-user-readable secure storage in Jigx cloud and allows for IP allowlisting for Azure SQL database servers. To complete these steps, the user will need Jigx credentials with admin privileges for the solution being configured and Azure SQL administrative credentials to configure the allowlisted IP addresses for the Azure SQL Server being used in the solution.
Following these steps to configure a new Azure SQL connection for the solution in cloud before adding the Jigx cloud IP addresses to the allowlisted IP addresses in Azure SQL.
- Sign in to Jigx management at https://manage.jigx.com and navigate to the solution being configured.
- Click on the Connections menu option on the left of the solution screen.
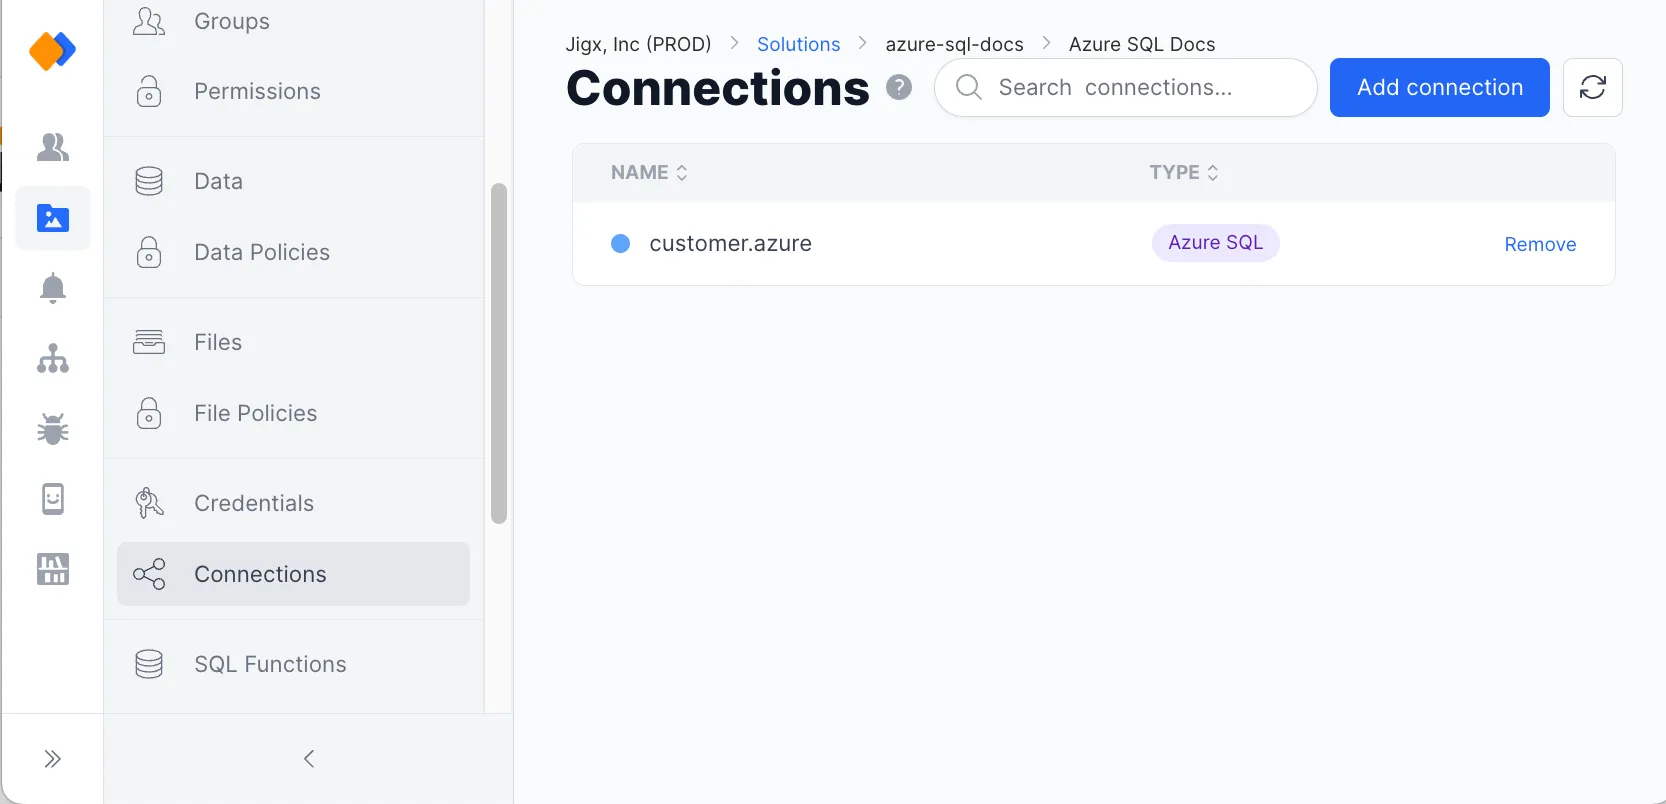
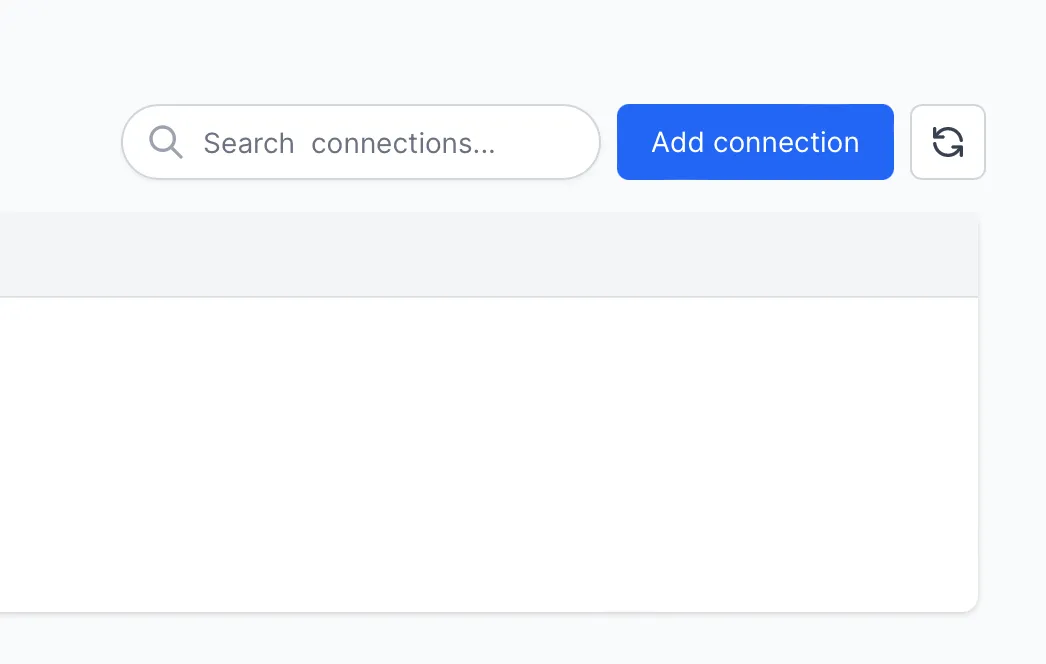
3. Click Add Connection on the top right of the Connections screen.
4. Enter the connection information for the new Azure SQL Connection.
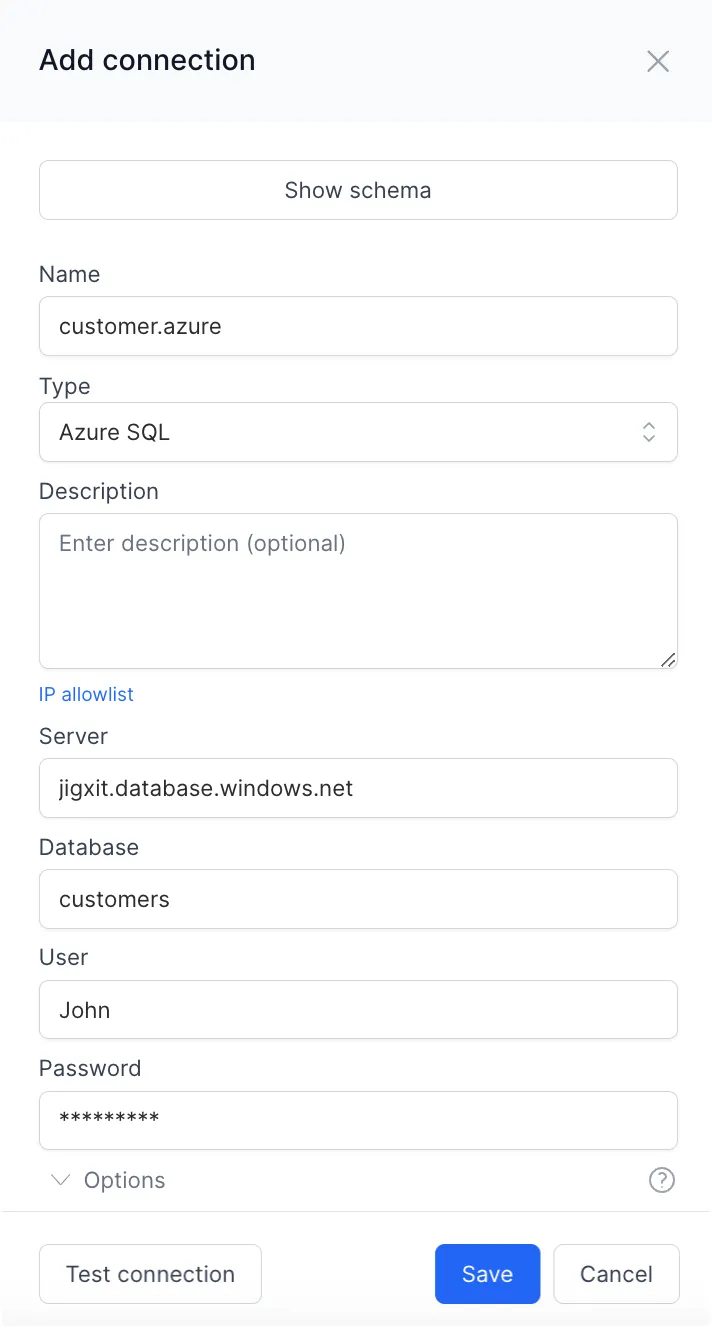
- In the Name field, enter your server's name, which will be the connection name functions will refer to when you create SQL functions. We recommend that this be the same as your SQL instance, for example, jigx1.database.windows.net.
- In Type – Select Azure SQL for both Azure SQL and on-premise SQL Servers.
- Optionally enter any descriptive text in the Description field.
- In Server enter the name of Azure SQL or SQL on-premise database server. The Azure administrator or database administrator will assist with this name.
- In Database enter the name of the SQL Server database you want to connect to.
- In User enter the user name that will connect to SQL Server.
- In Password enter a valid password for the SQL Server.
- In Options configure other connection options such as non-standard ports or other specific connection information that the database server may need.
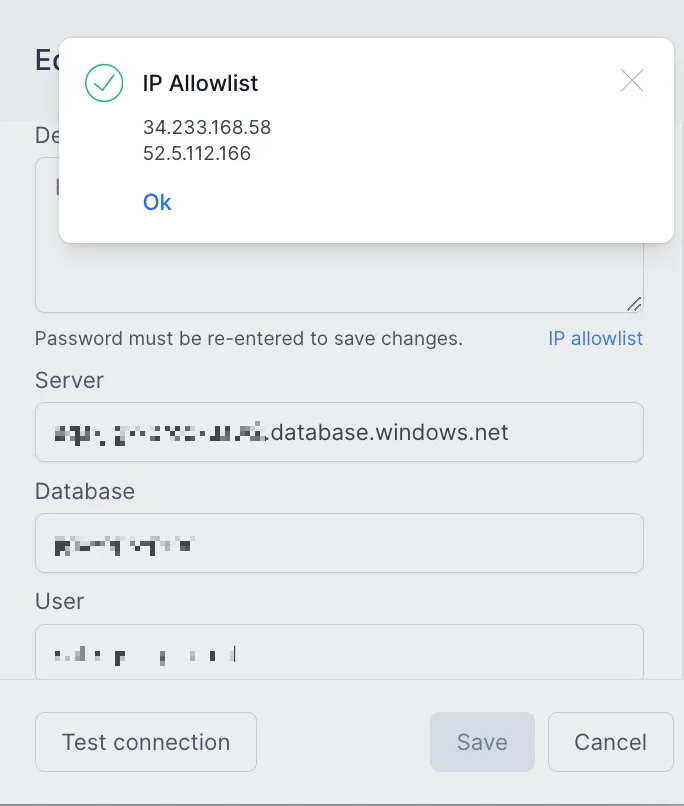
5. Before saving or testing the connection, click the IP allowlist link in the middle of the new connection screen. Note the two IP addresses listed. The calls from Jigx Cloud to Azure SQL will always originate from one of these IP addresses. These IP addresses will be added to the Azure SQL Server.
These IP addresses will vary depending on the Jigx cloud region being used.
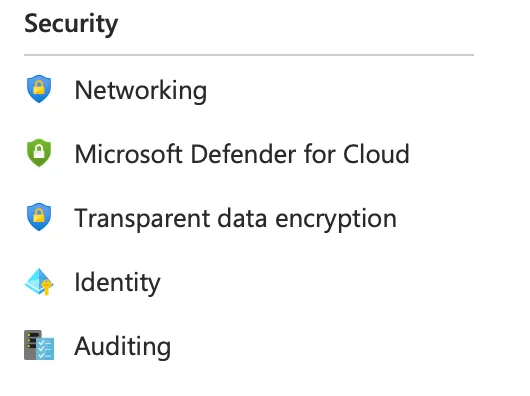
6. Navigate to the administrative portal for the Azure SQL Server instance hosting the database used in the Jigx solution. Under the Security section, select Networking. Please refer to Azure SQL firewall connection documentation for detailed instructions.
7. Add the two Jigx IP addresses to the IP addresses allowlist for this Azure SQL instance.

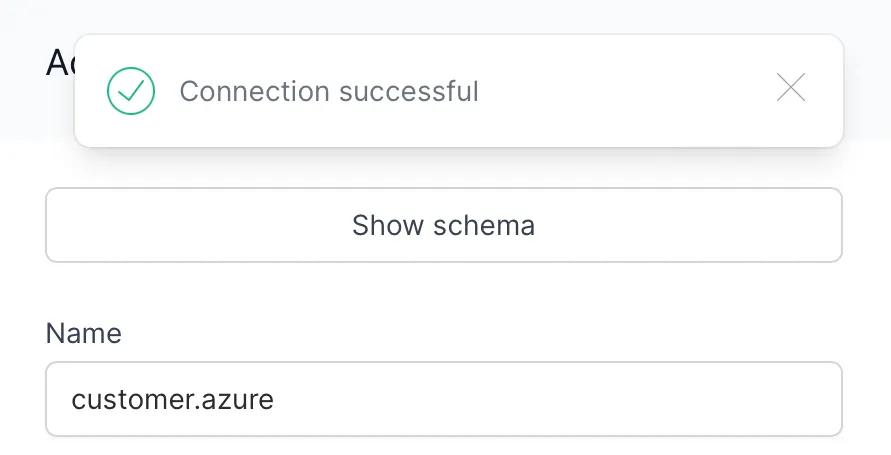
8. In , click Test connection. If all the settings are configured correctly, the connection will succeed. Click Save.
9. The connection can now be used in your project to execute SQL queries or stored procedures to read and write data to Azure SQL.

