Create and configure a new OAuth app in Microsoft Azure AAD
This topic is specific to Microsoft Azure OAuth and not a feature of . requires an OAuth app to authenticate with Microsoft Graph.
To successfully complete these steps, you will need a Microsoft Office 365 Administrator account with access to the Azure Active Directory Administration portal.
1.Login to https://admin.microsoft.com
2. Expand the menu on the left by clicking on the hamburger icon on the top left of the page.
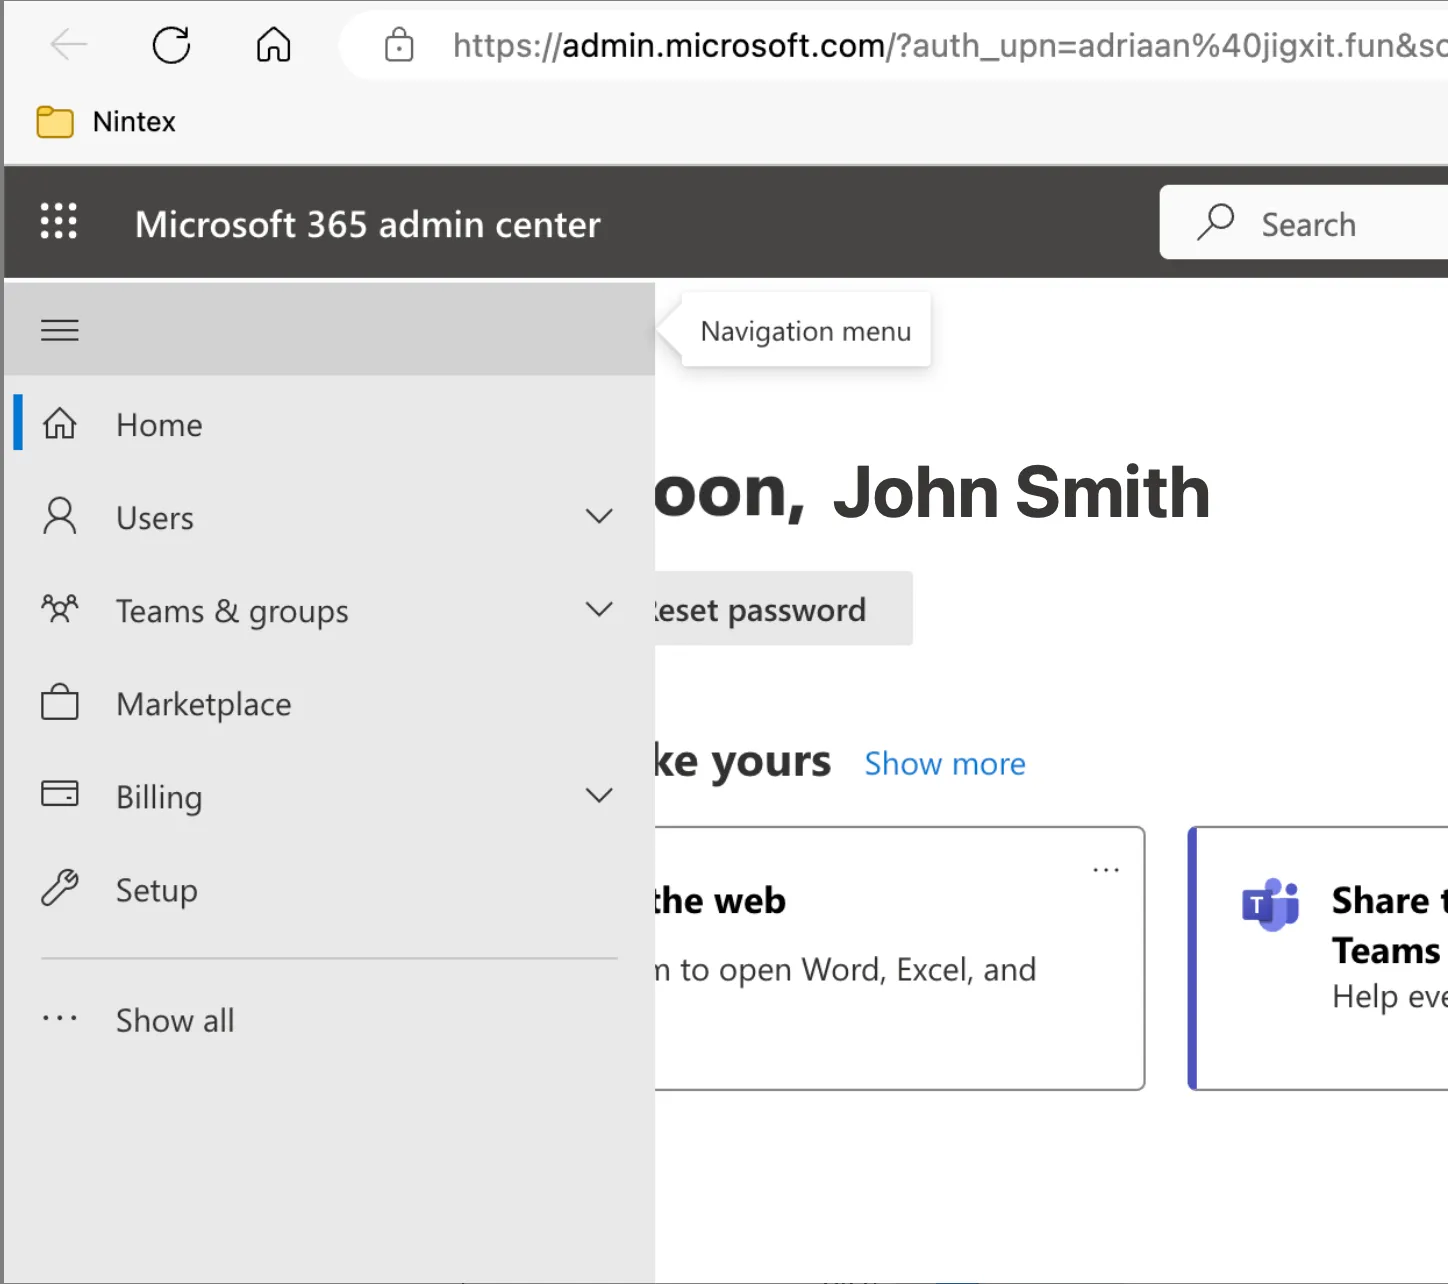
3. Click on the three dots next to Show All.
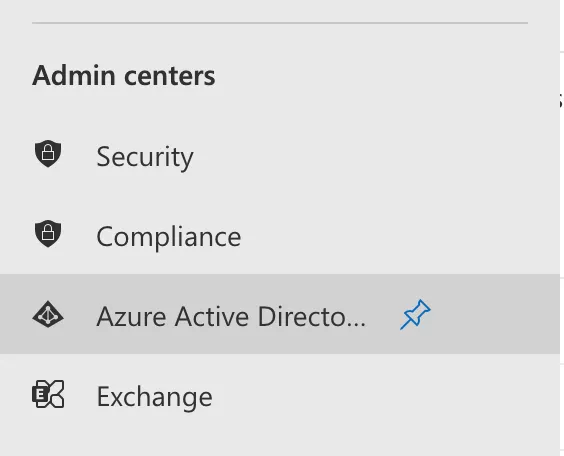
4. Click on Azure Active Directory under Admin Centers.
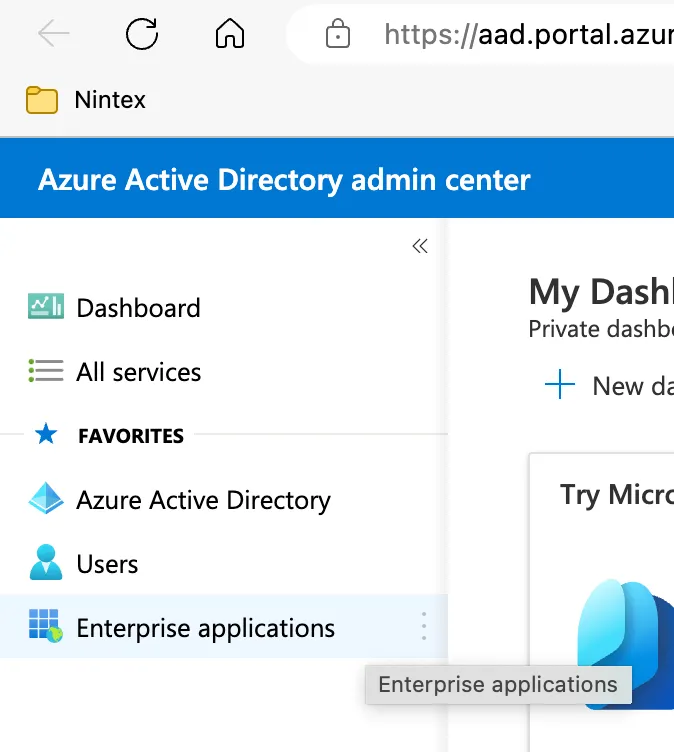
5. In the left menu, click on Enterprise Applications.
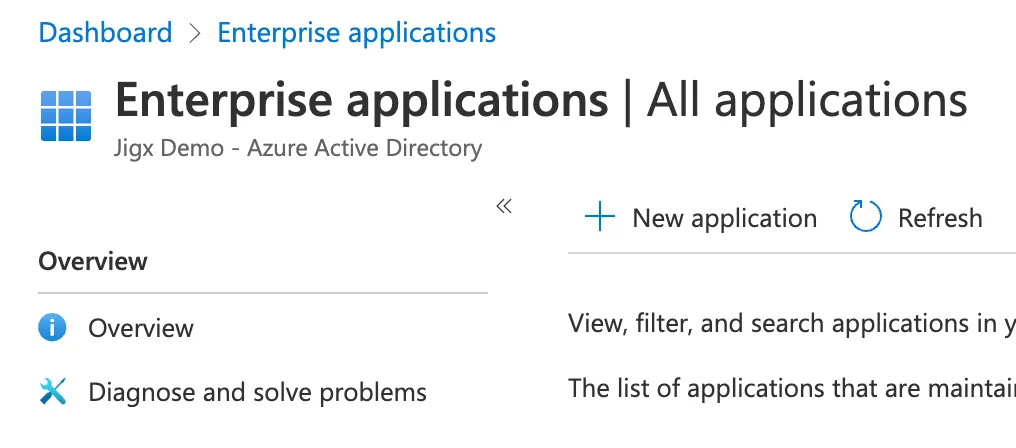
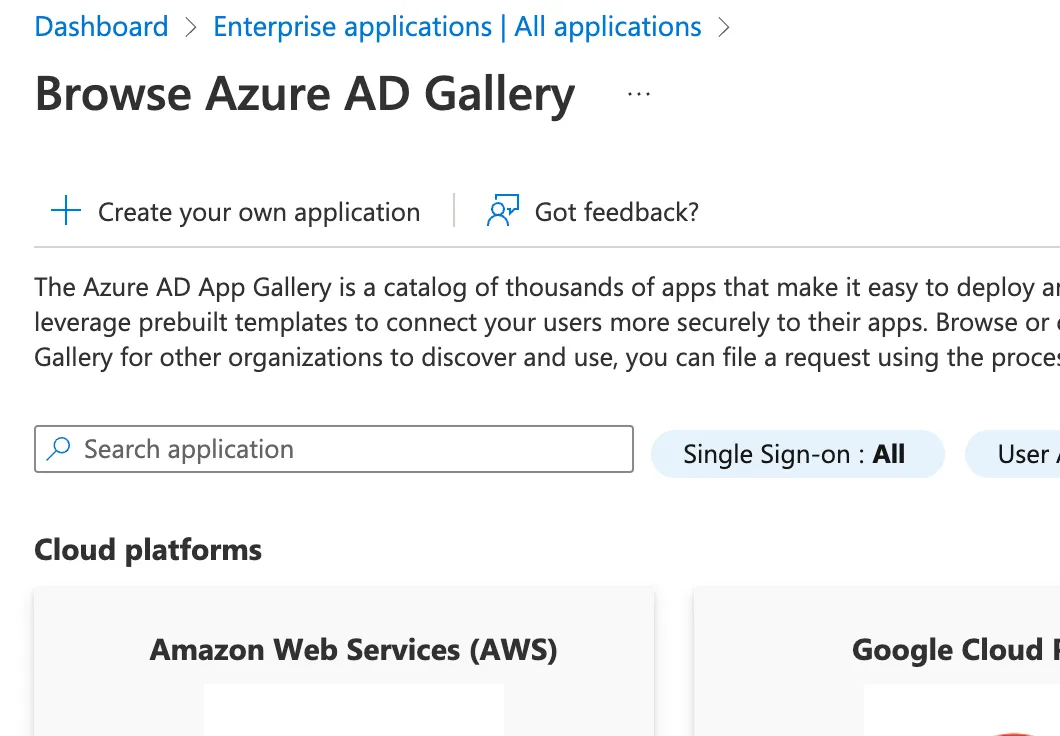
6. Click New application on the toolbar in the top middle of the page.
7. Click on Create your own application on the toolbar at the top of the page.
8. Enter a name for your app. In this document, we will use Mobile.
9. Make sure Integrate any other application you don't find in the gallery (Non-gallery) is selected, and click on the Create button at the bottom of the screen.
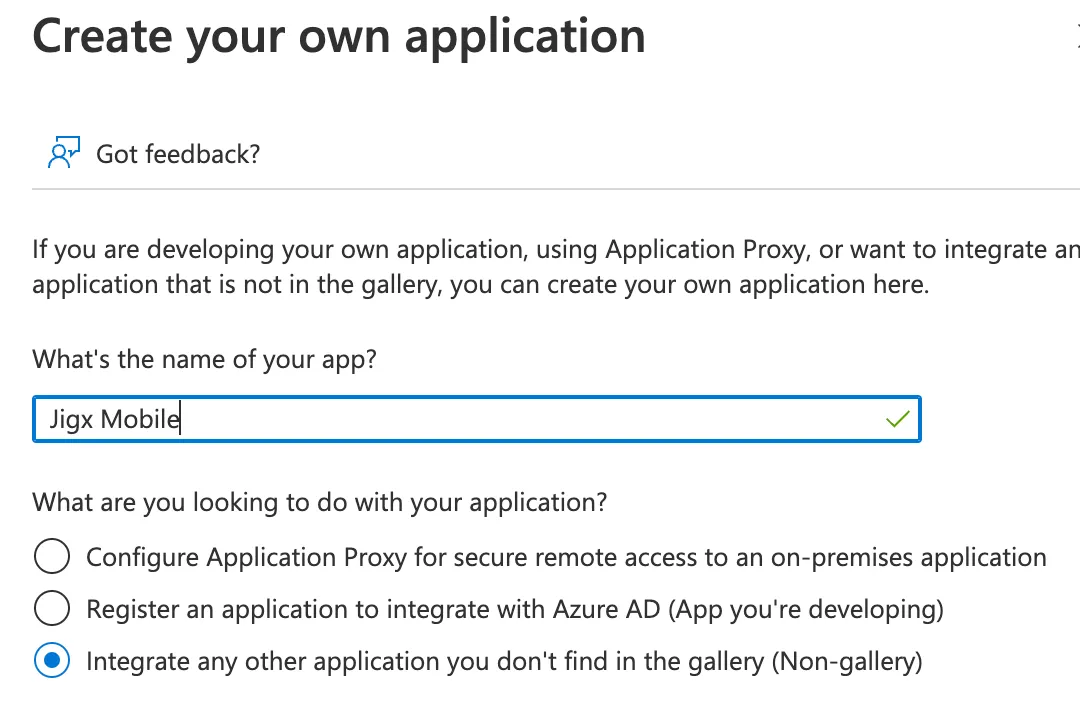
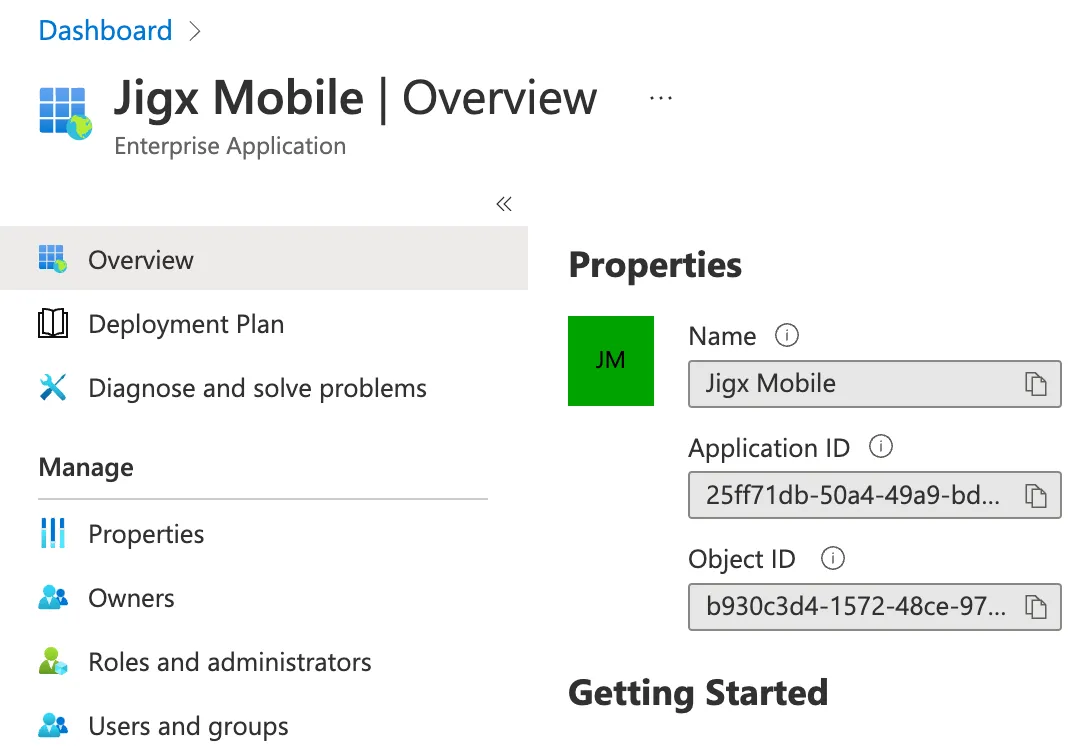
10. Under Manage, click on Properties.
11. Set Assignment required to false and click on Save on the menu bar at the top left.
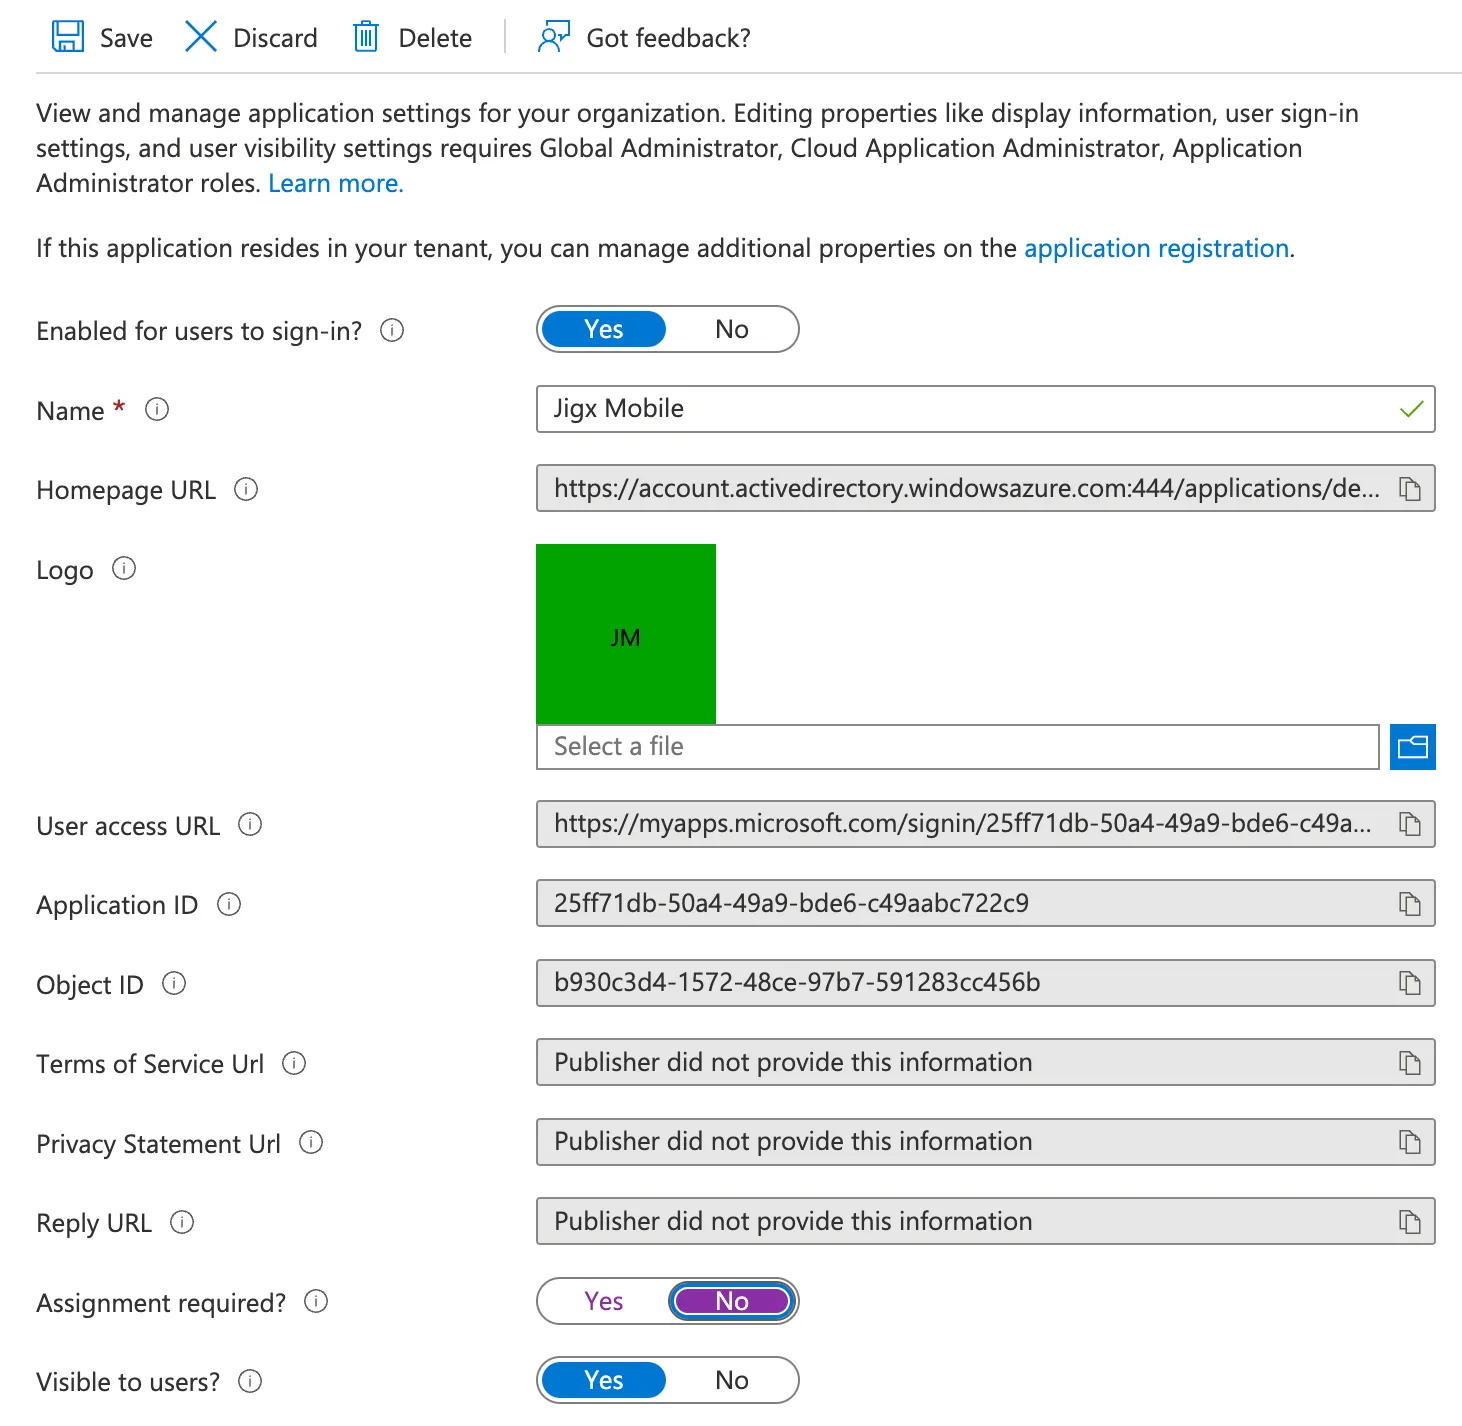
12. Click on the application registration link at the top right of the page.
13. Click on Authentication in the left menu.
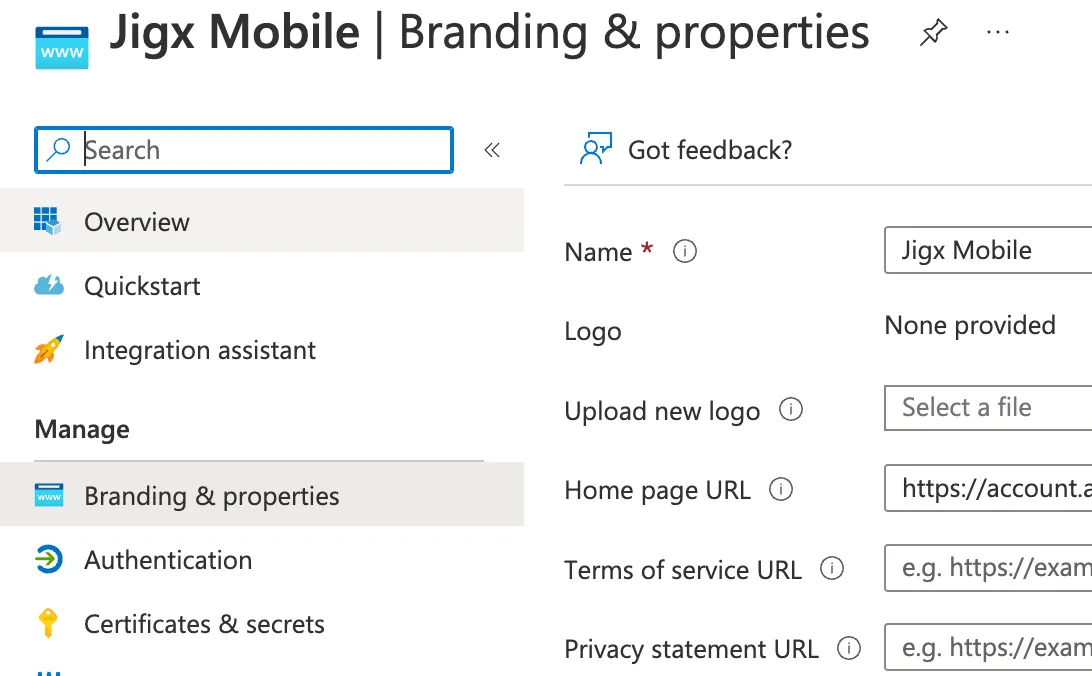
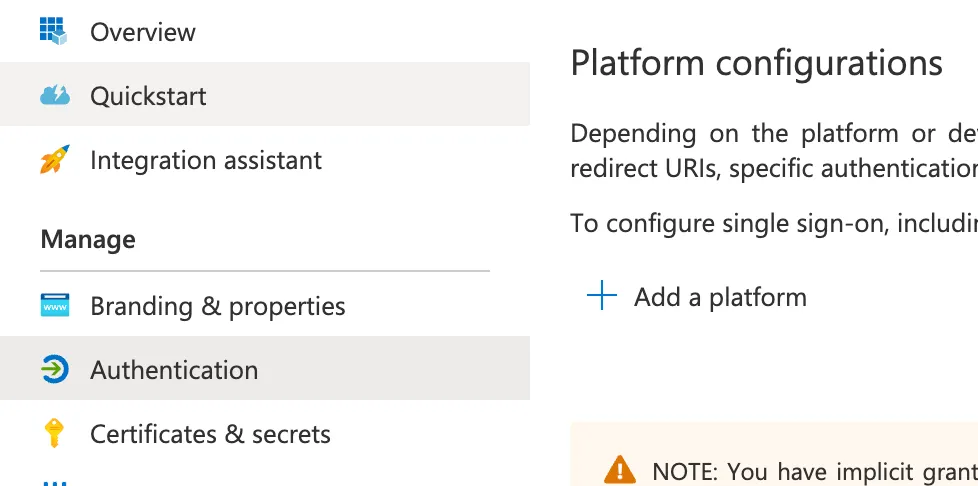
14. Click on Add a platform.
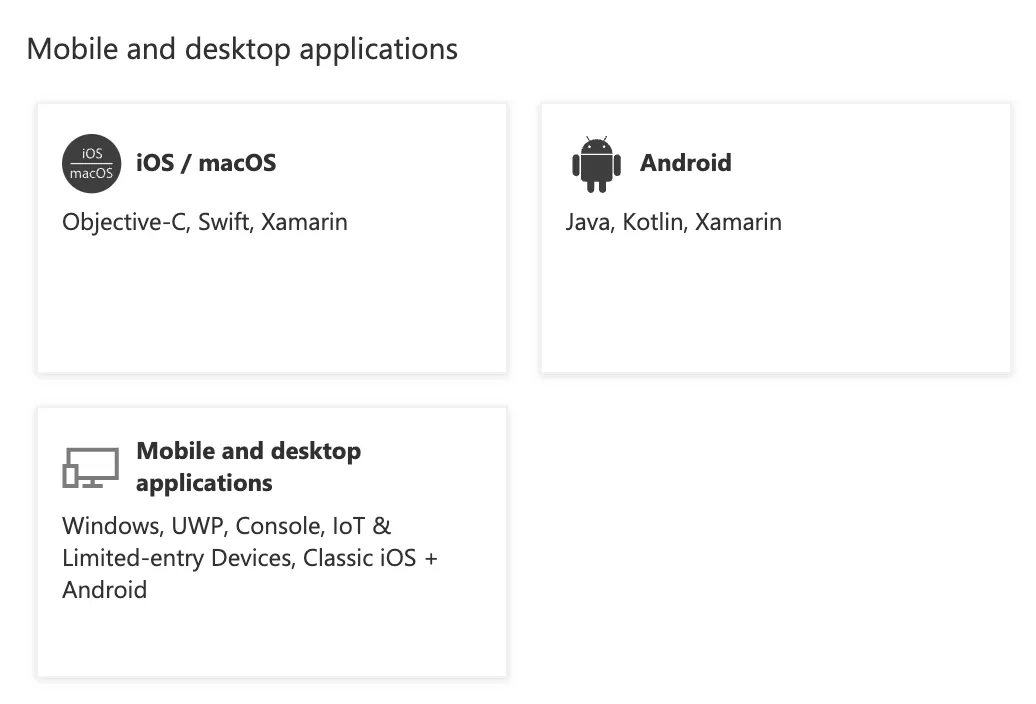
15. Click on Mobile and desktop applications. Do not select iOS/macOS or Android.
16. Select the three checkboxes and add https://oauth.jigx.com/jigx/ in the custom URL section. If you are configuring this for a Branded app replace /jigx/ with the name of the branded app as specified in its app configuration. For example, https://oauth.jigx.com/nintex/. Click on Configure to save the changes.
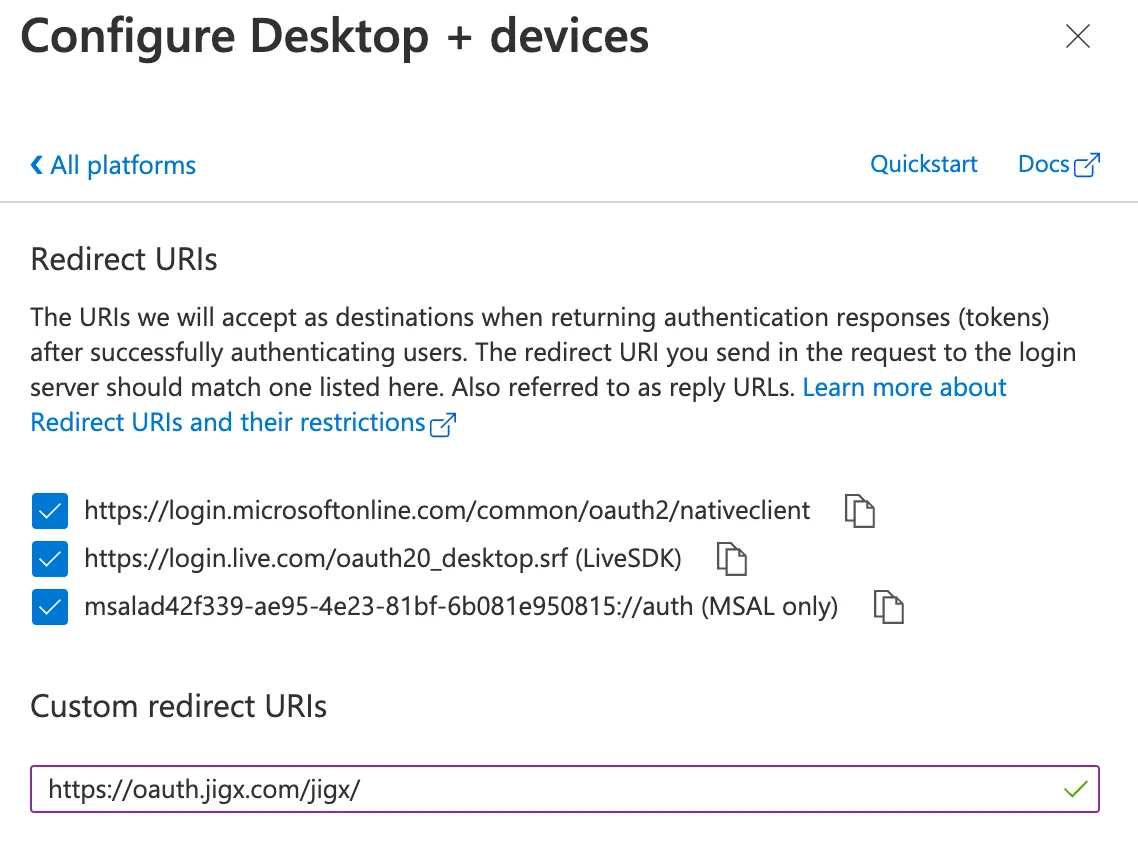
If you are planning on using Postman to test calls to Microsoft Graph using the Mobile OAuth configuration, click on Add URI and add the following URL: https://oauth.pstmn.io/v1/callback then click on Save at the bottom of the screen.
17. Click on API permissions. Depending on the functionality you want to expose to Mobile, you will have to specify specific API permissions, also referred to as scopes.
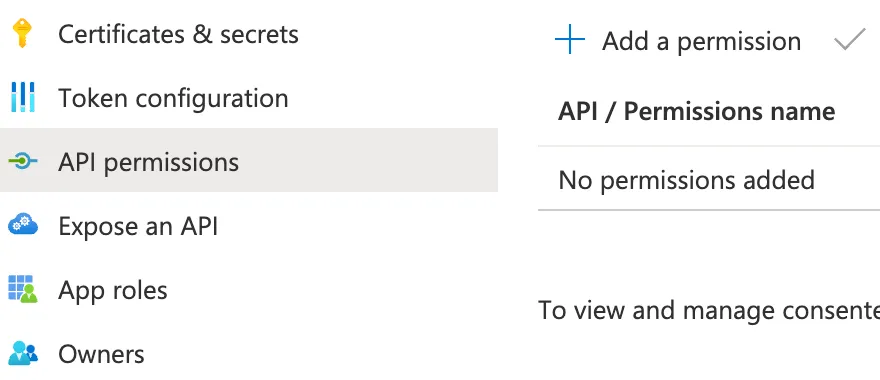
18. For this example, click on Add a permission and then Microsoft Graph at the top of the next screen.
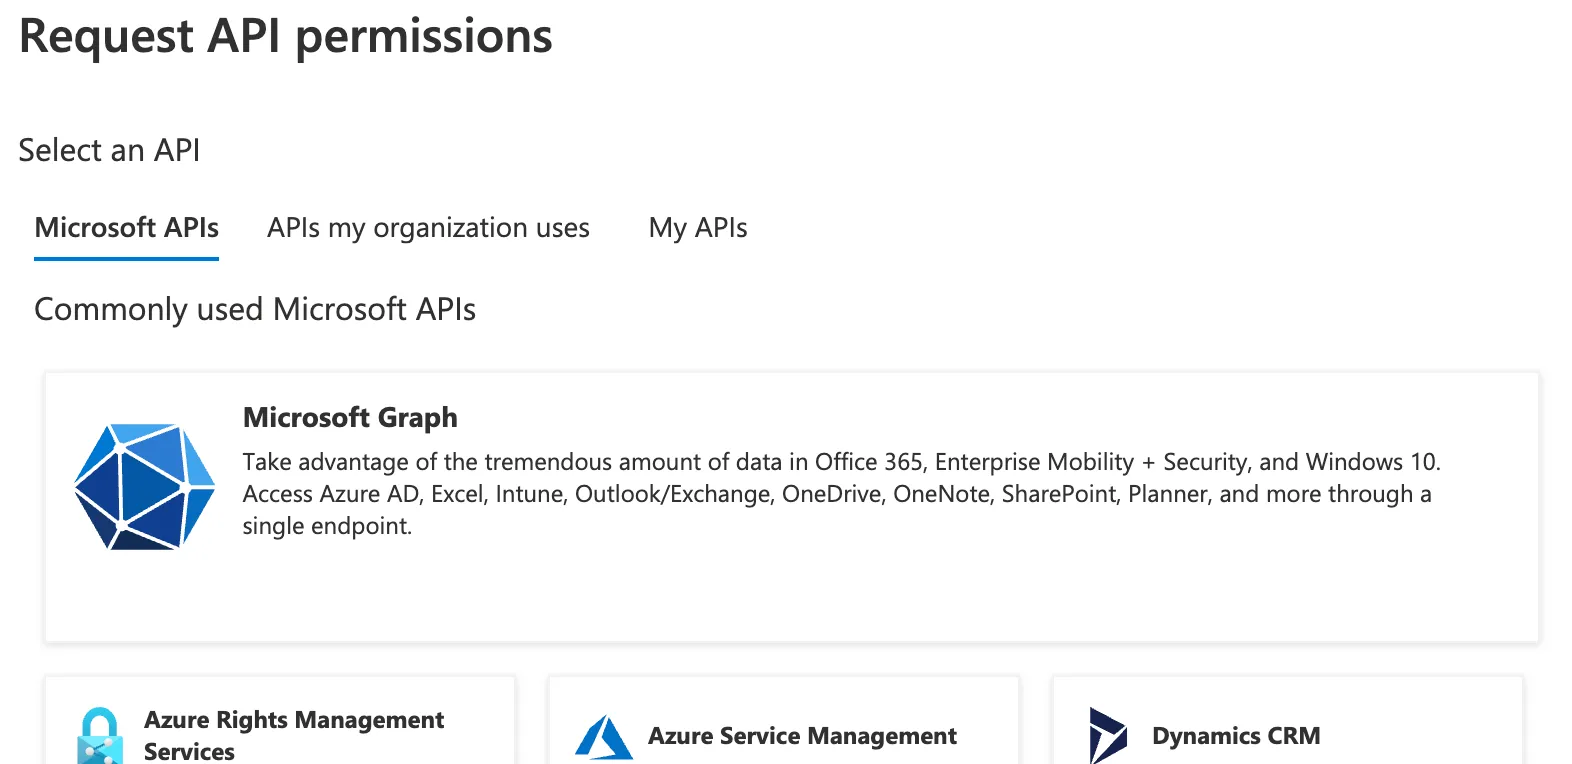
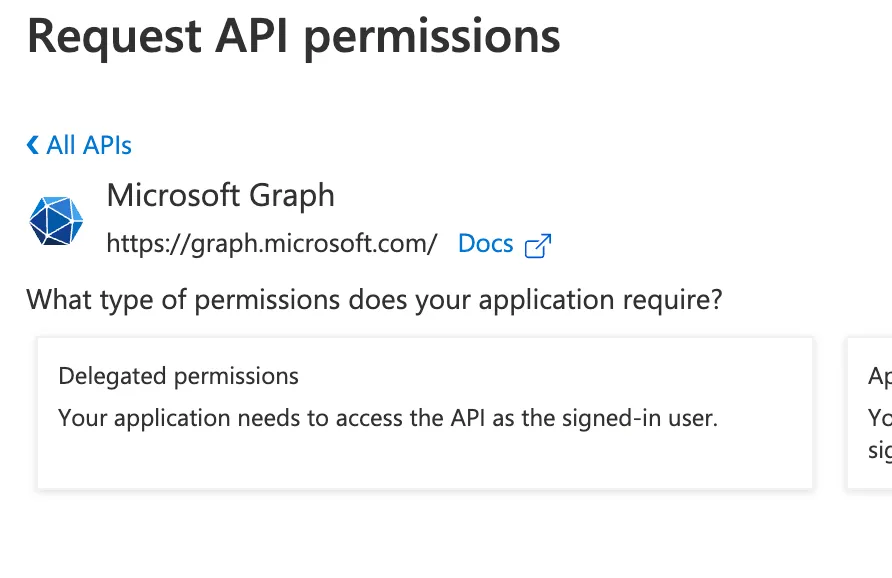
19. Click on Delegated permissions since we want the solution user to access the API using his identity and access rights.
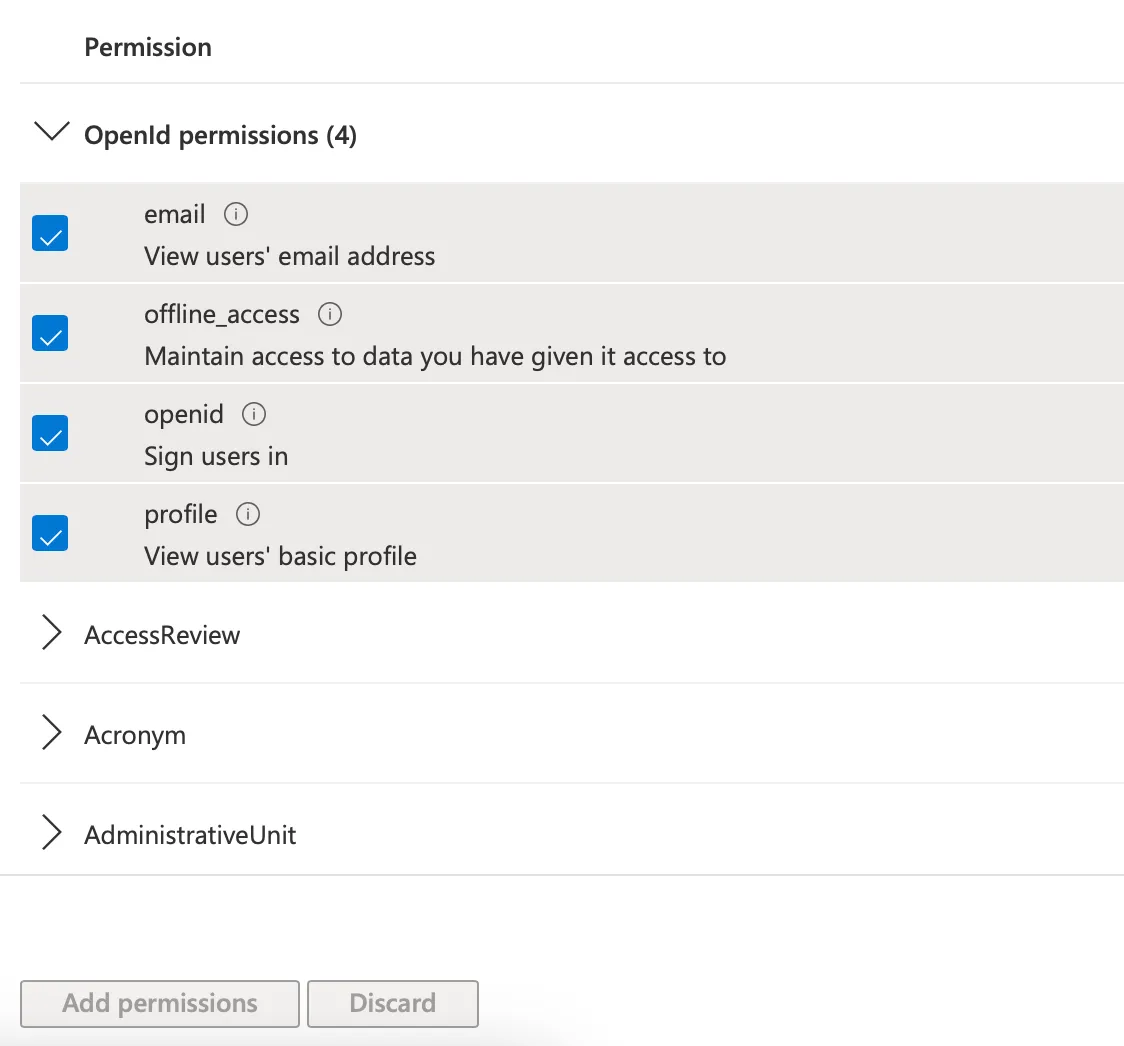
20. Enable email, openid, profile and User.Read, offline_access. These are the minimum scopes needed by to access the API. To find User.Read, enter it in the search box. Click on Add permissions at the bottom of the screen.
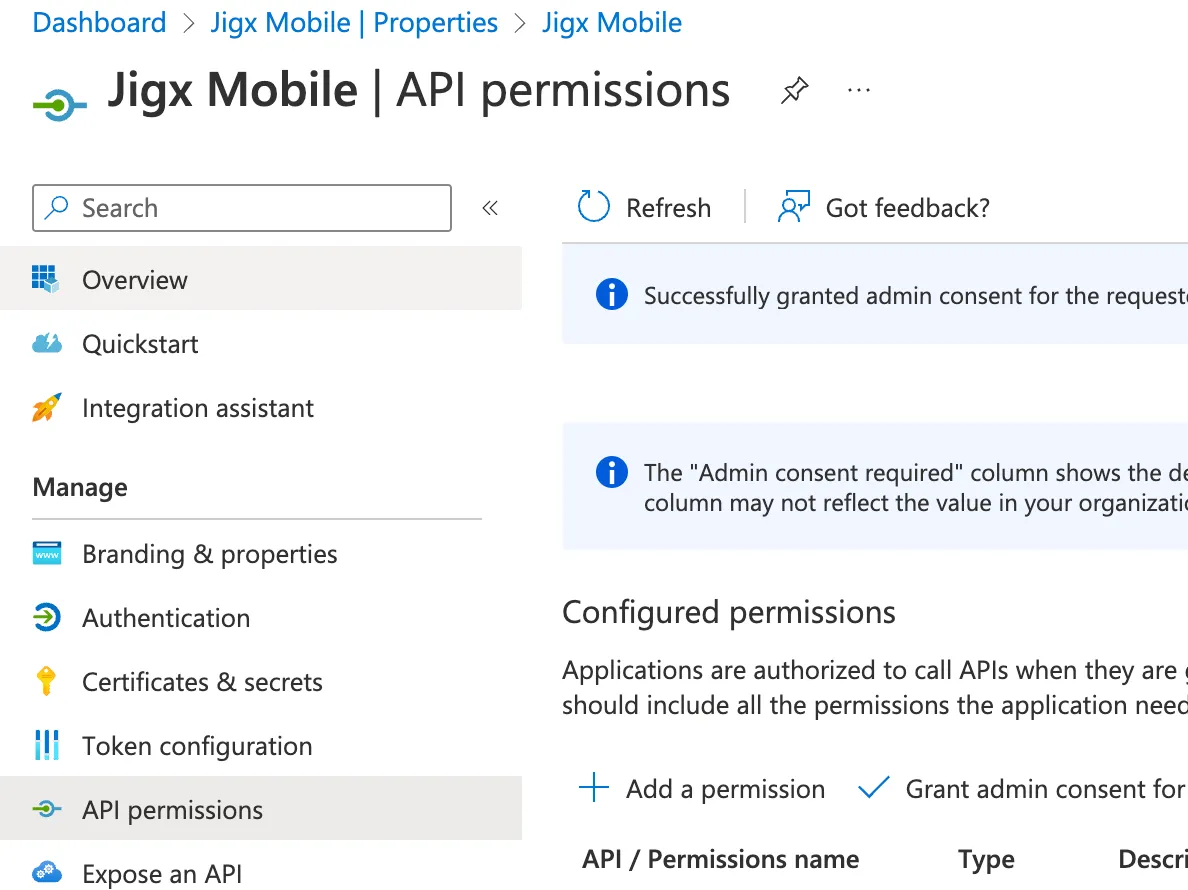
21. Click on Grant admin consent on the toolbar above the API permissions. Your API permissions should look similiar to the image below.

22. Click on Overview on the top left.
23. Copy the Application (Client) ID and save this for later.

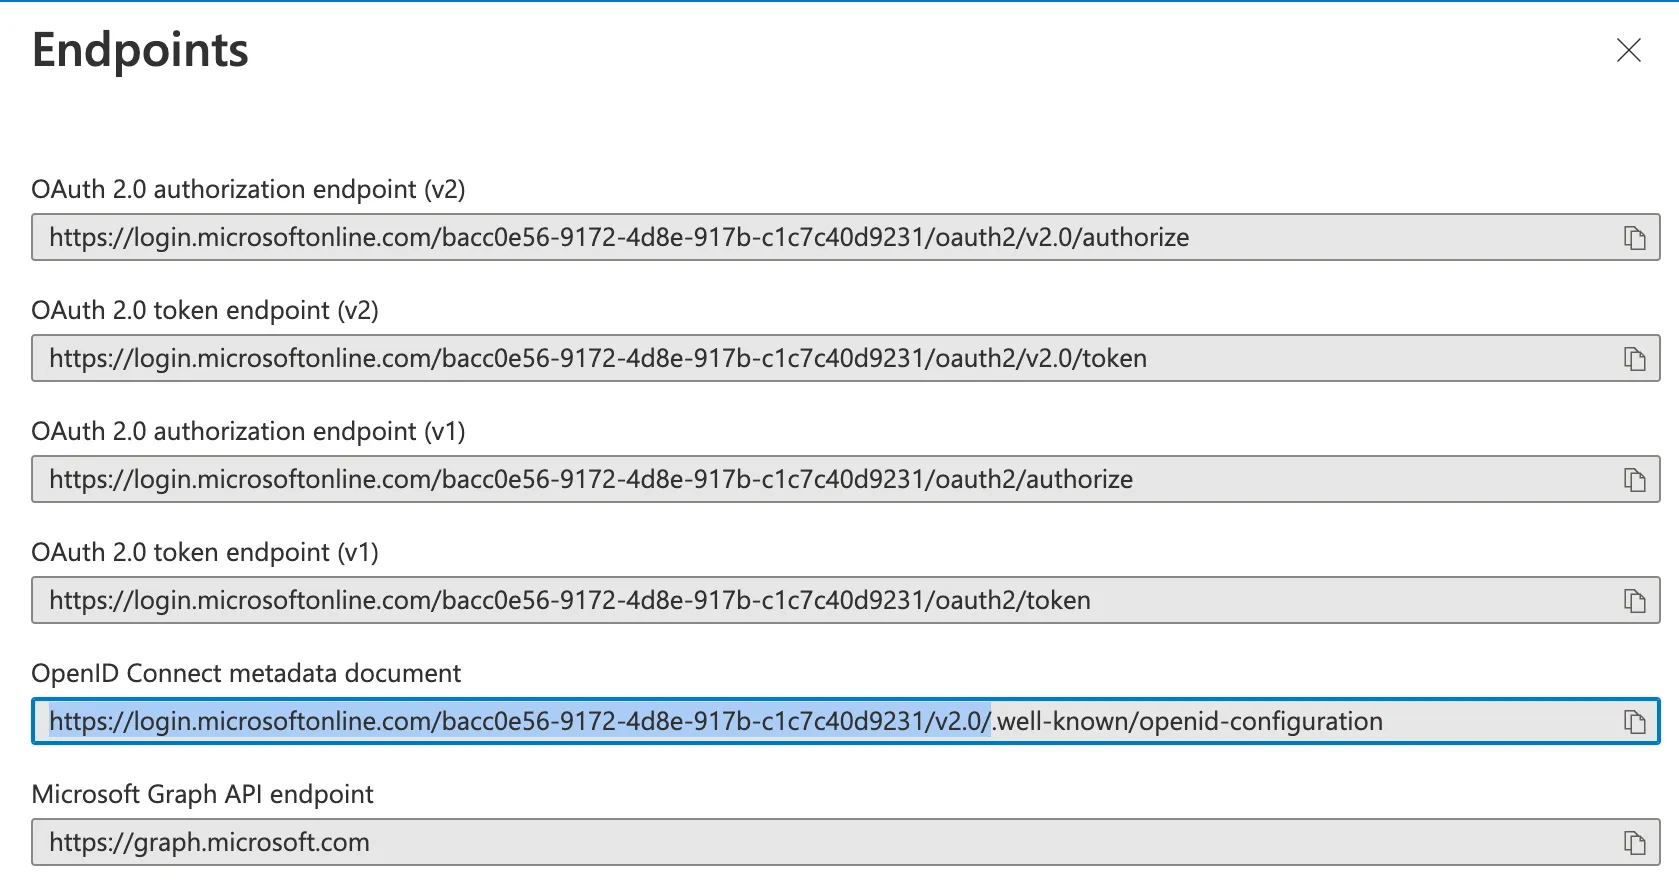
24. Click on Endpoints in the toolbar. Select the portion of the URL up to the / after v2.0 of the OpenID Connect metadata document field and save this for later.
25. At this stage, the OAuth app is configured and ready to use.
In the next section, add the configuration to the solution in .

