Notifications
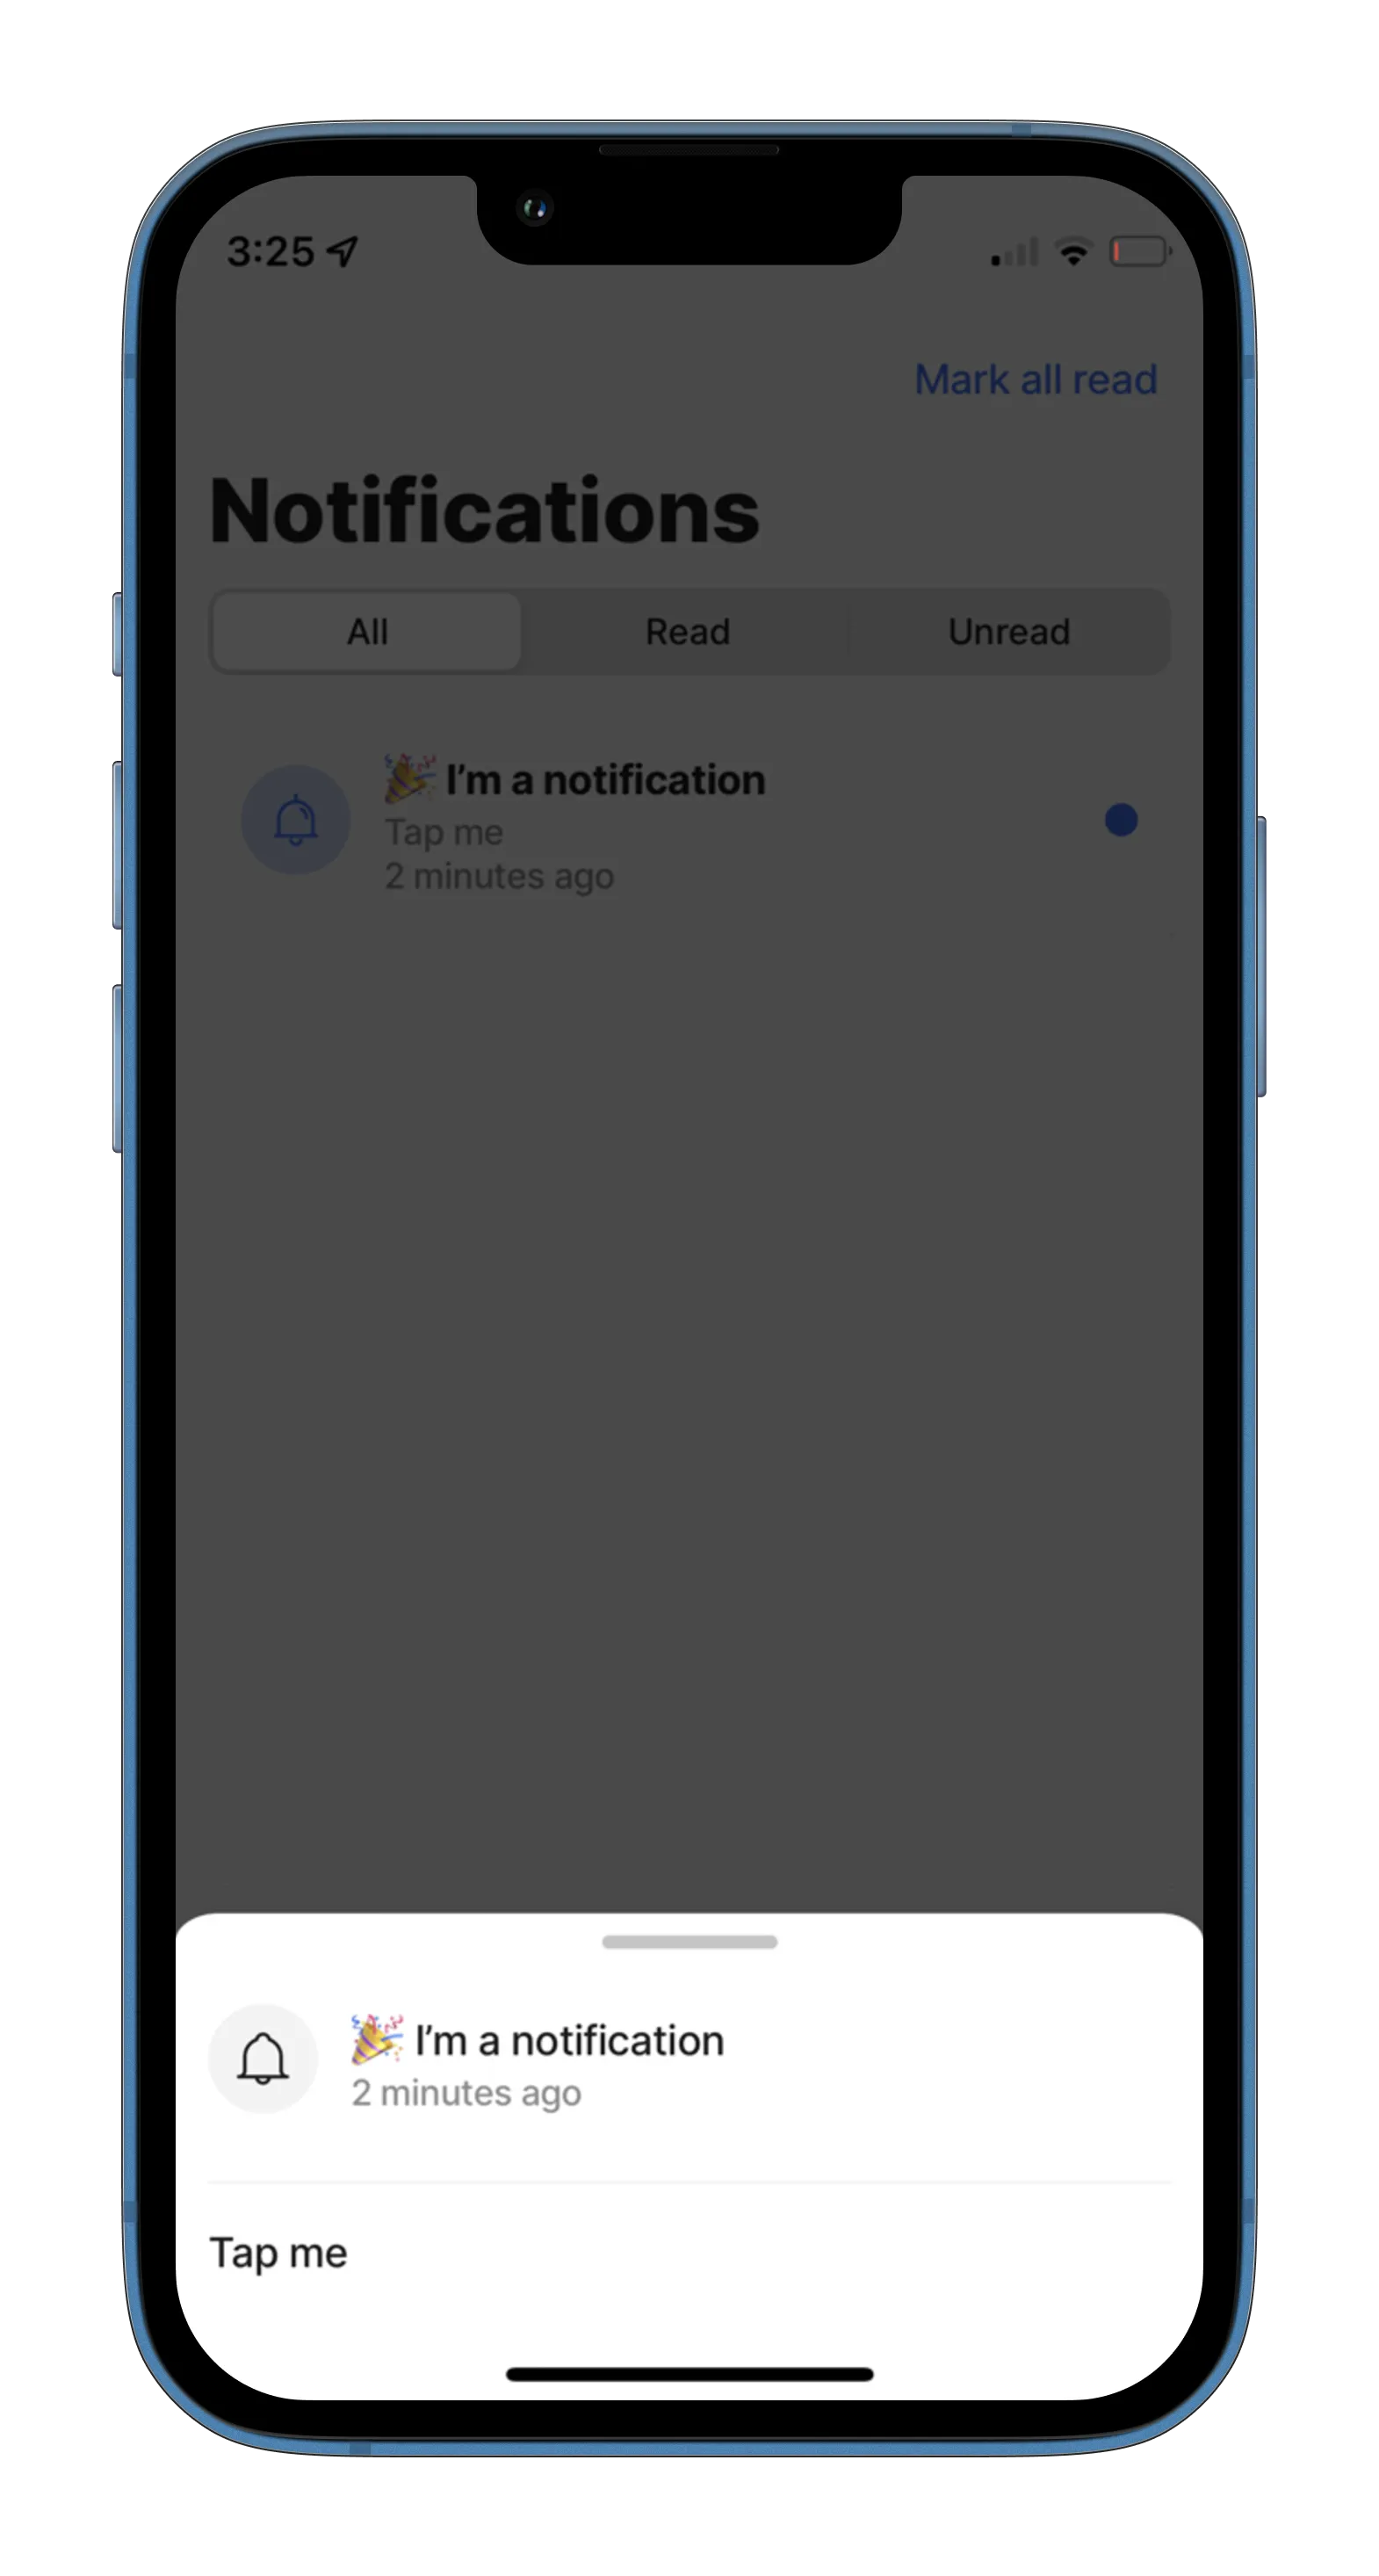
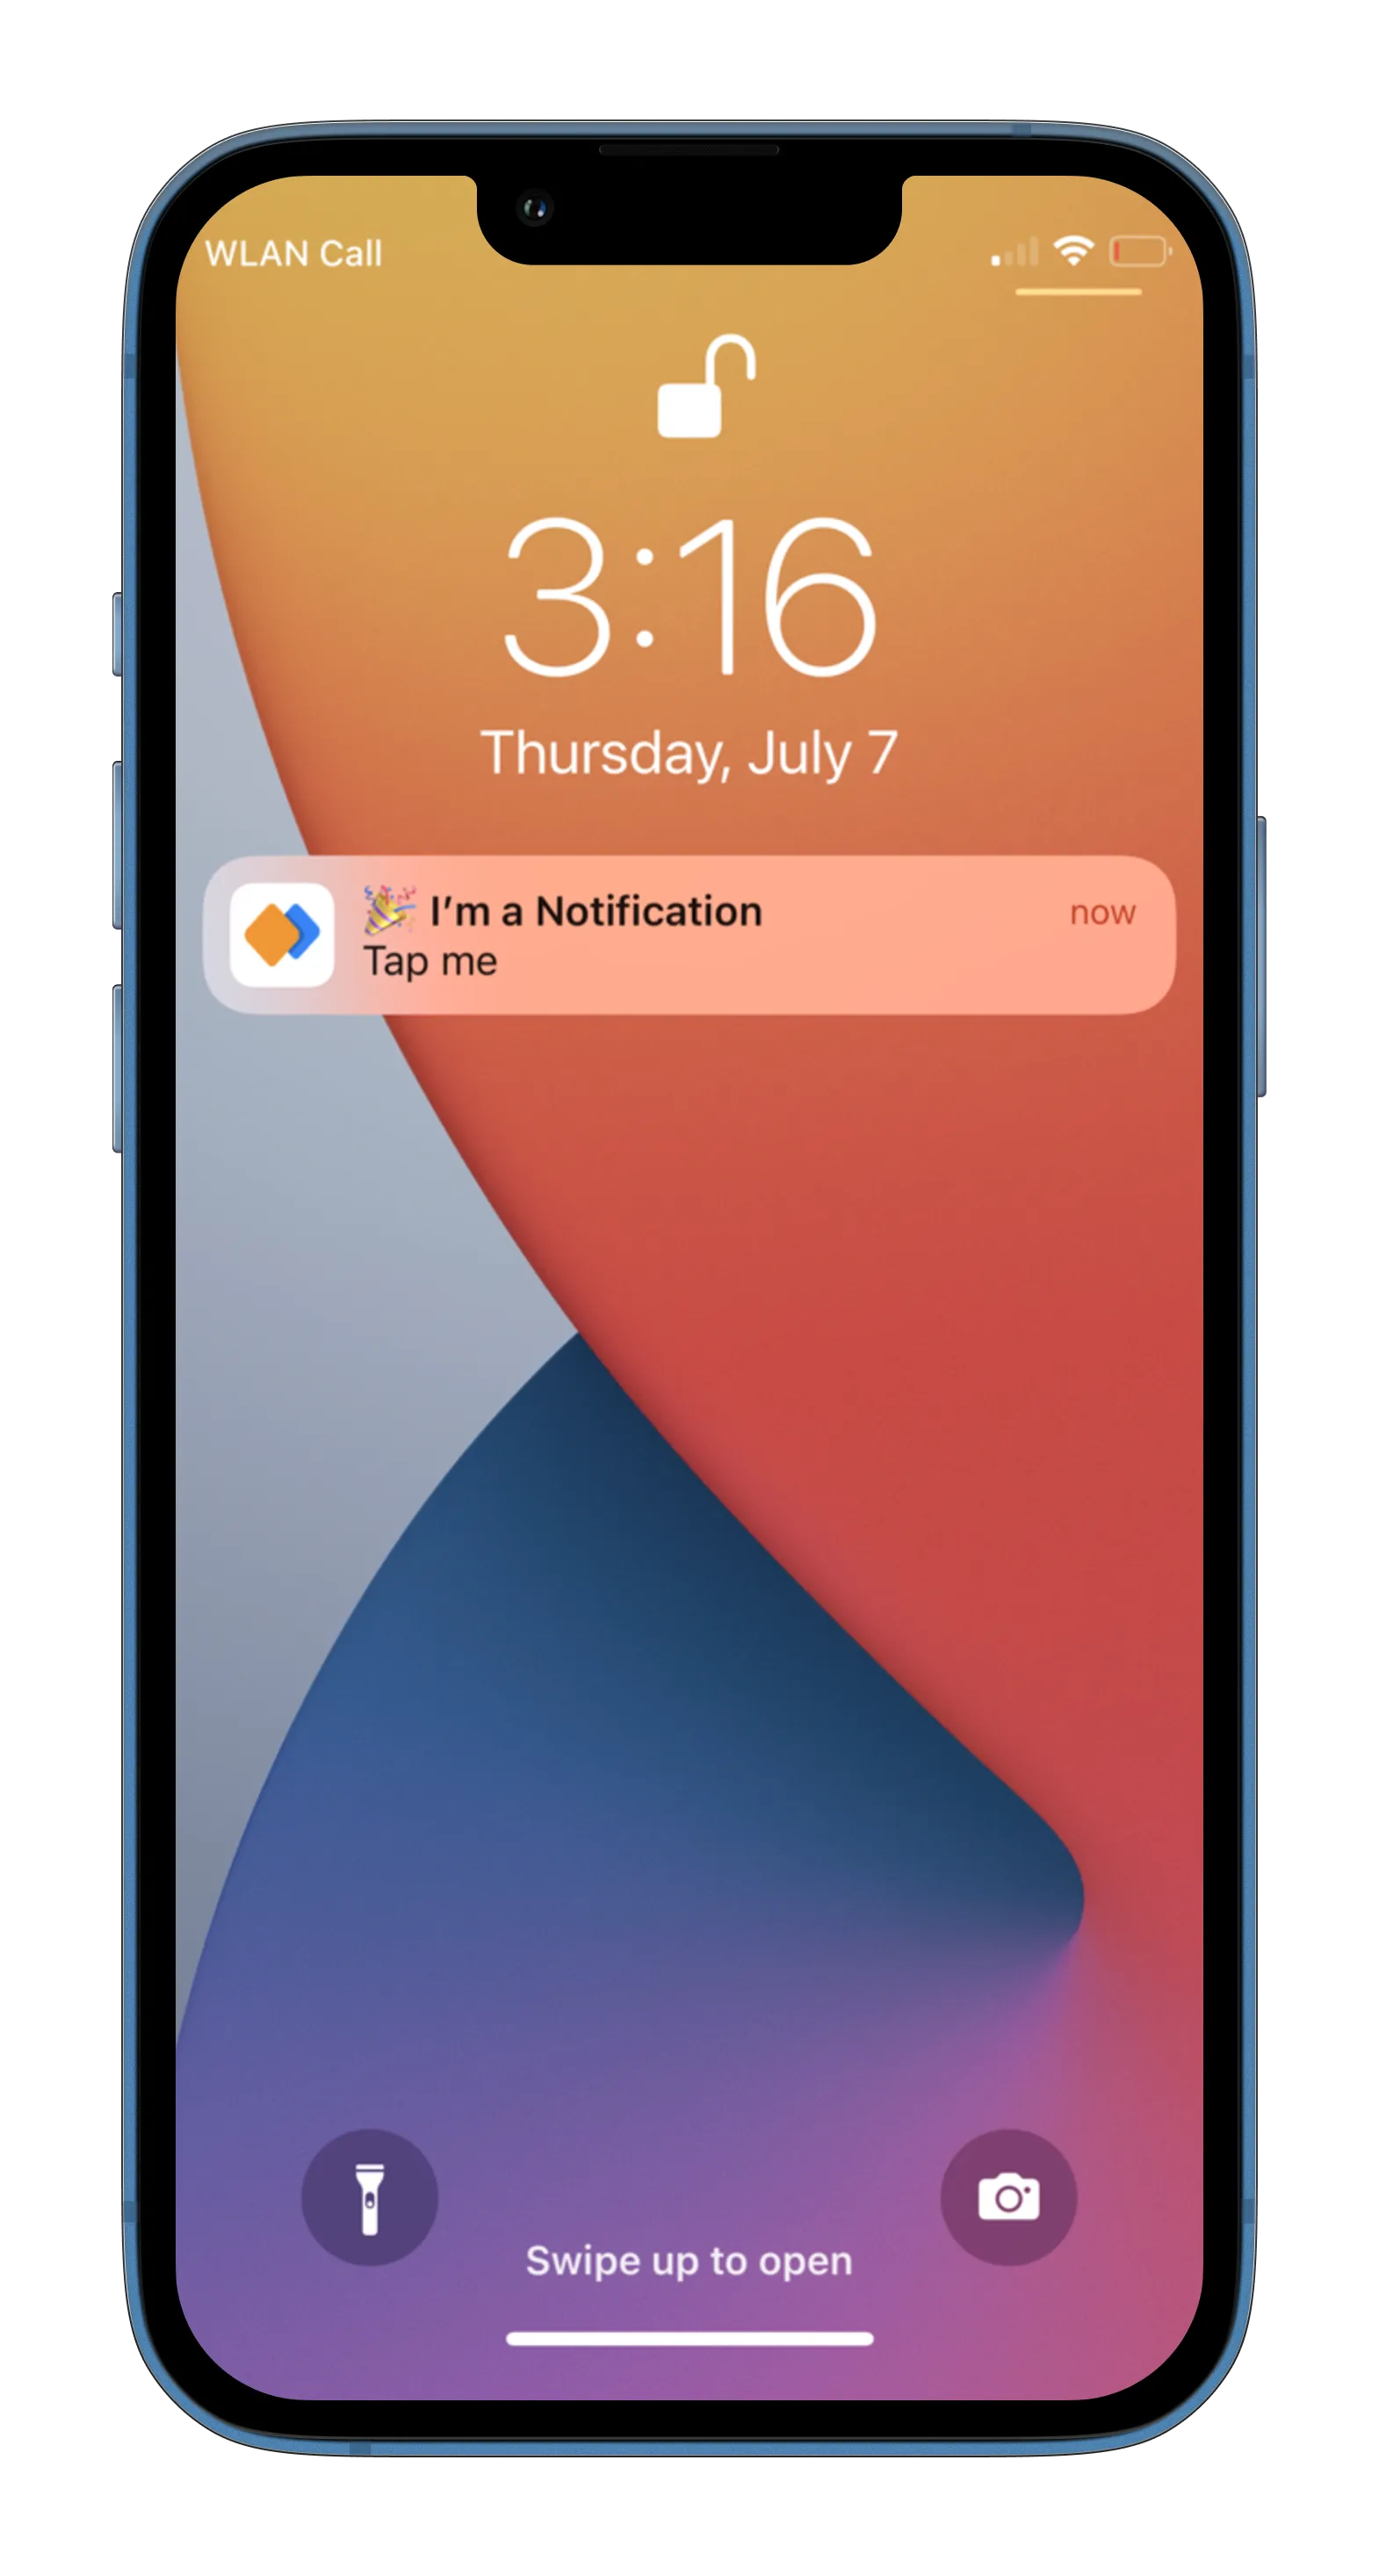
Notifications are a powerful way to grab your user's attention. With , notifications appear on the user's device as push and in-app notifications.

There are three different ways to create notifications:
Send notifications using Jigx Management
Read the documentation about Notifications in the Admininstration section to learn more about managing notifications using .

Send notifications programmatically
You can send notifications from within your solution to other users. There are two elements to include in your solution in order to send notifications:
- Function: To communicate with the (or any other) REST API, you have to define a function in the Functions folder of your solution. The function has input parameters such as the notification title, the notification text and requires a accessToken or personal access token (PAT) .
- When calling the function within use the accessToken, when calling the function from outside use the personal access token. Your personal access token is available in / User/ Personal Access Tokens.
- Jig: Your s will invoke the function for sending notifications either via submitting form values to the function or by using an execute-entity action for invoking the function.
Function
You can use the REST API to send notifications to other users within your organization.
Add a function definition called send-notification.jigx to the functions folder of your solution and copy & paste the following snippet into it. Replace the {organizationId} in the url with your organization's Id.
See the code sample in GitHub.
method: POST provider: DATA_PROVIDER_REST inputTransform: >- $.{ "content": { "title":title, "text":text, "jigId":jigId, "screen":"jig" }, "scope":scope, "emails":emails, "description": "description", "solutionId": solutionId } parameters: solutionId: type: string location: body required: false jigId: type: string location: body required: false value: notification-form deviceId: location: body type: string required: true value: jig command: location: body type: string required: false value: createNotification organizationId: location: path type: string required: true scope: location: body type: string required: false value: USR emails: location: body type: array required: true title: location: body type: string required: true text: location: body type: string required: true accessToken: location: header type: jigx value: jigx required: true url: https://kdiqmco762.execute-api.us-east-1.amazonaws.com/default/organizations/{organizationId}/notifications
Calling the Function from a Jig
In your , you can either invoke the above function using an execute-entity action or by submitting a form using submit-form.
Method 1: Submitting a form
Let's start with the basic example of submitting a form. In this example we are using hidden form components (e.g. organizationId) to pass required parameters to the function. The emails field contains a comma-separated list of recipients. You could also use Expressions to create that comma-separated string dynamically at runtime.
Once you submitted the form, the recipients should receive both a push notification and an in-app notification. You can also check the delivery status of your notification in the Notifications section of the .
See the code sample in GitHub.
title: Send Notification (submit-form) icon: alert-circle type: jig.default actions: - children: - type: action.submit-form options: title: Send notification formId: send-form provider: DATA_PROVIDER_REST method: functionCall function: send-notification entity: send-notification onSuccess: title: Message sent children: - type: component.form instanceId: send-form options: children: - type: component.text-field instanceId: title options: label: Title - type: component.text-field instanceId: text options: label: Text - type: component.text-field instanceId: organizationId options: label: organizationId initialValue: =@ctx.organization.id isHidden: true - type: component.text-field instanceId: solutionId options: label: solutionId initialValue: =@ctx.solution.id isHidden: true - type: component.text-field instanceId: emails options: label: emails initialValue: =@ctx.user.email isHidden: true - type: component.text-field instanceId: accessToken options: label: accessToken initialValue: jigx isHidden: true
Method 2: Invoking the function using an execute-entity action
You can also send notifications using an execute-entity action if you want to have more control over what's being sent to the function.
In this example we are using state to access the two form fields title and text. All other function parameters are set in the execute-entity action. Note that you don't have to use form fields as you could also assign all function parameters in the action itself.
Replace YOUR_ORG_ID with your actual Organization Id. You can find it in the Organization Settings section of the or use the expression =@ctx.organization.id.
Click here to go there directly: https://manage.jigx.com/settings/org-details
See the code sample in GitHub.
title: Send Notification (execute-entity) icon: alert-circle type: jig.default actions: - children: - type: action.execute-entity options: title: Send now provider: DATA_PROVIDER_REST method: functionCall entity: send-notification function: send-notification functionParameters: deviceId: jig organizationId: =@ctx.organization.id solutionId: =@ctx.solution.id emails: =@ctx.user.email title: =@ctx.components.title.state.value text: =@ctx.components.text.state.value accessToken: jigx onSuccess: title: Message sent children: - type: component.form instanceId: send-form options: children: - type: component.text-field instanceId: title options: label: Title - type: component.text-field instanceId: text options: label: Text
Target a Jig with Input Parameters
You can also target a specific with input parameters from your push notification. An example of this would be a notification about a new product promotion with the promotion detail as the target.
When the user taps on the notification (either on the native push notification or the in-app notification), the app will navigate to the specific promotion:


For this, you need an adjusted REST function definition (see 1), a Jig that invokes the REST function (see 2), and a target that will be displayed when the user taps on the notification (see 3).
Function with Jig targeting (1)
Replace the {organizationId} in the url with your organization's Id.
See the code sample in GitHub.
method: POST provider: DATA_PROVIDER_REST inputTransform: > $.{ "content": { "title": title, "text": text, "screen": "jig", "jigId": jigId, "inputs":{ "promotionId":promotionId } }, "scope": scope, "emails": emails, "solutionId": solutionId } parameters: deviceId: location: body type: string required: true value: jig command: location: body type: string required: false value: createNotification organizationId: location: path type: string required: true scope: location: body type: string required: false value: USR emails: location: body type: array required: true title: location: body type: string required: true text: location: body type: string required: true promotionId: location: body type: string required: true solutionId: location: body type: string required: true jigId: location: body type: string required: true accessToken: location: header type: jigx value: jigx required: true url: https://kdiqmco762.execute-api.us-east-1.amazonaws.com/default/organizations/{organizationId}/notifications
Sending Jig (2)
Replace YOUR_SOLUTION_ID with your actual Solution Id. You can find it in the Solution Details section of the or use the following expression =@ctx.solution.id
title: Send Notification (target jig) icon: alert-circle type: jig.default actions: - children: - type: action.execute-entity options: title: Send now provider: DATA_PROVIDER_REST method: functionCall entity: send-notification-target-jig function: send-notification-target-jig functionParameters: deviceId: jig organizationId: =@ctx.organization.id emails: =@ctx.user.email title: 🎉 New product promotion text: Check it out now solutionId: =@ctx.solution.id promotionId: promo12345 jigId: view-promotion-details accessToken: jigx onSuccess: title: Message sent children: - type: component.form instanceId: send-form options: children: - type: component.text-field instanceId: title options: label: Title - type: component.text-field instanceId: text options: label: Text
Target Jig (3)
title: Promotion Details icon: zoom-in type: jig.default datasources: promotions: type: datasource.static options: data: - promotionId: promo12345 name: Stylish Teapot Promo price: 25 image: https://picsum.photos/id/225/500/300 children: - type: component.image options: source: uri: =@ctx.datasources.promotions[promotionId = @ctx.jig.inputs.promotionId].image resizeMode: cover height: 300 - type: component.entity options: children: - type: component.field-row options: children: - type: component.entity-field options: label: Promotion value: =@ctx.datasources.promotions[promotionId = @ctx.jig.inputs.promotionId].name - type: component.entity-field options: label: Promotion # value: =@ctx.jig.inputs.promotionId - type: component.entity-field options: label: Price value: text: =@ctx.datasources.promotions[promotionId = @ctx.jig.inputs.promotionId].price format: numberStyle: currency currency: USD
Send notifications using a Webhook
For external systems that should send notifications you can use Web-hooks provided by the platform.
Reach out to the Jigx Support team to receive the technical details and security credentials for your organization to get started with Web-hooks.
You can find the above examples in the jigx-samples app on Github.