Notifications
Notifications are a powerful feature allowing you to engage with your users. With Jigx, notifications are delivered to your users as push notifications (OS-level) and in-app notifications (on the notifications tab). You can send Notifications using or programmatically in your solutions, see Notifications. Notifications can be configured to send to a single user, the entire organization, users of a specific solution, and even users of a specific in a specific solution.


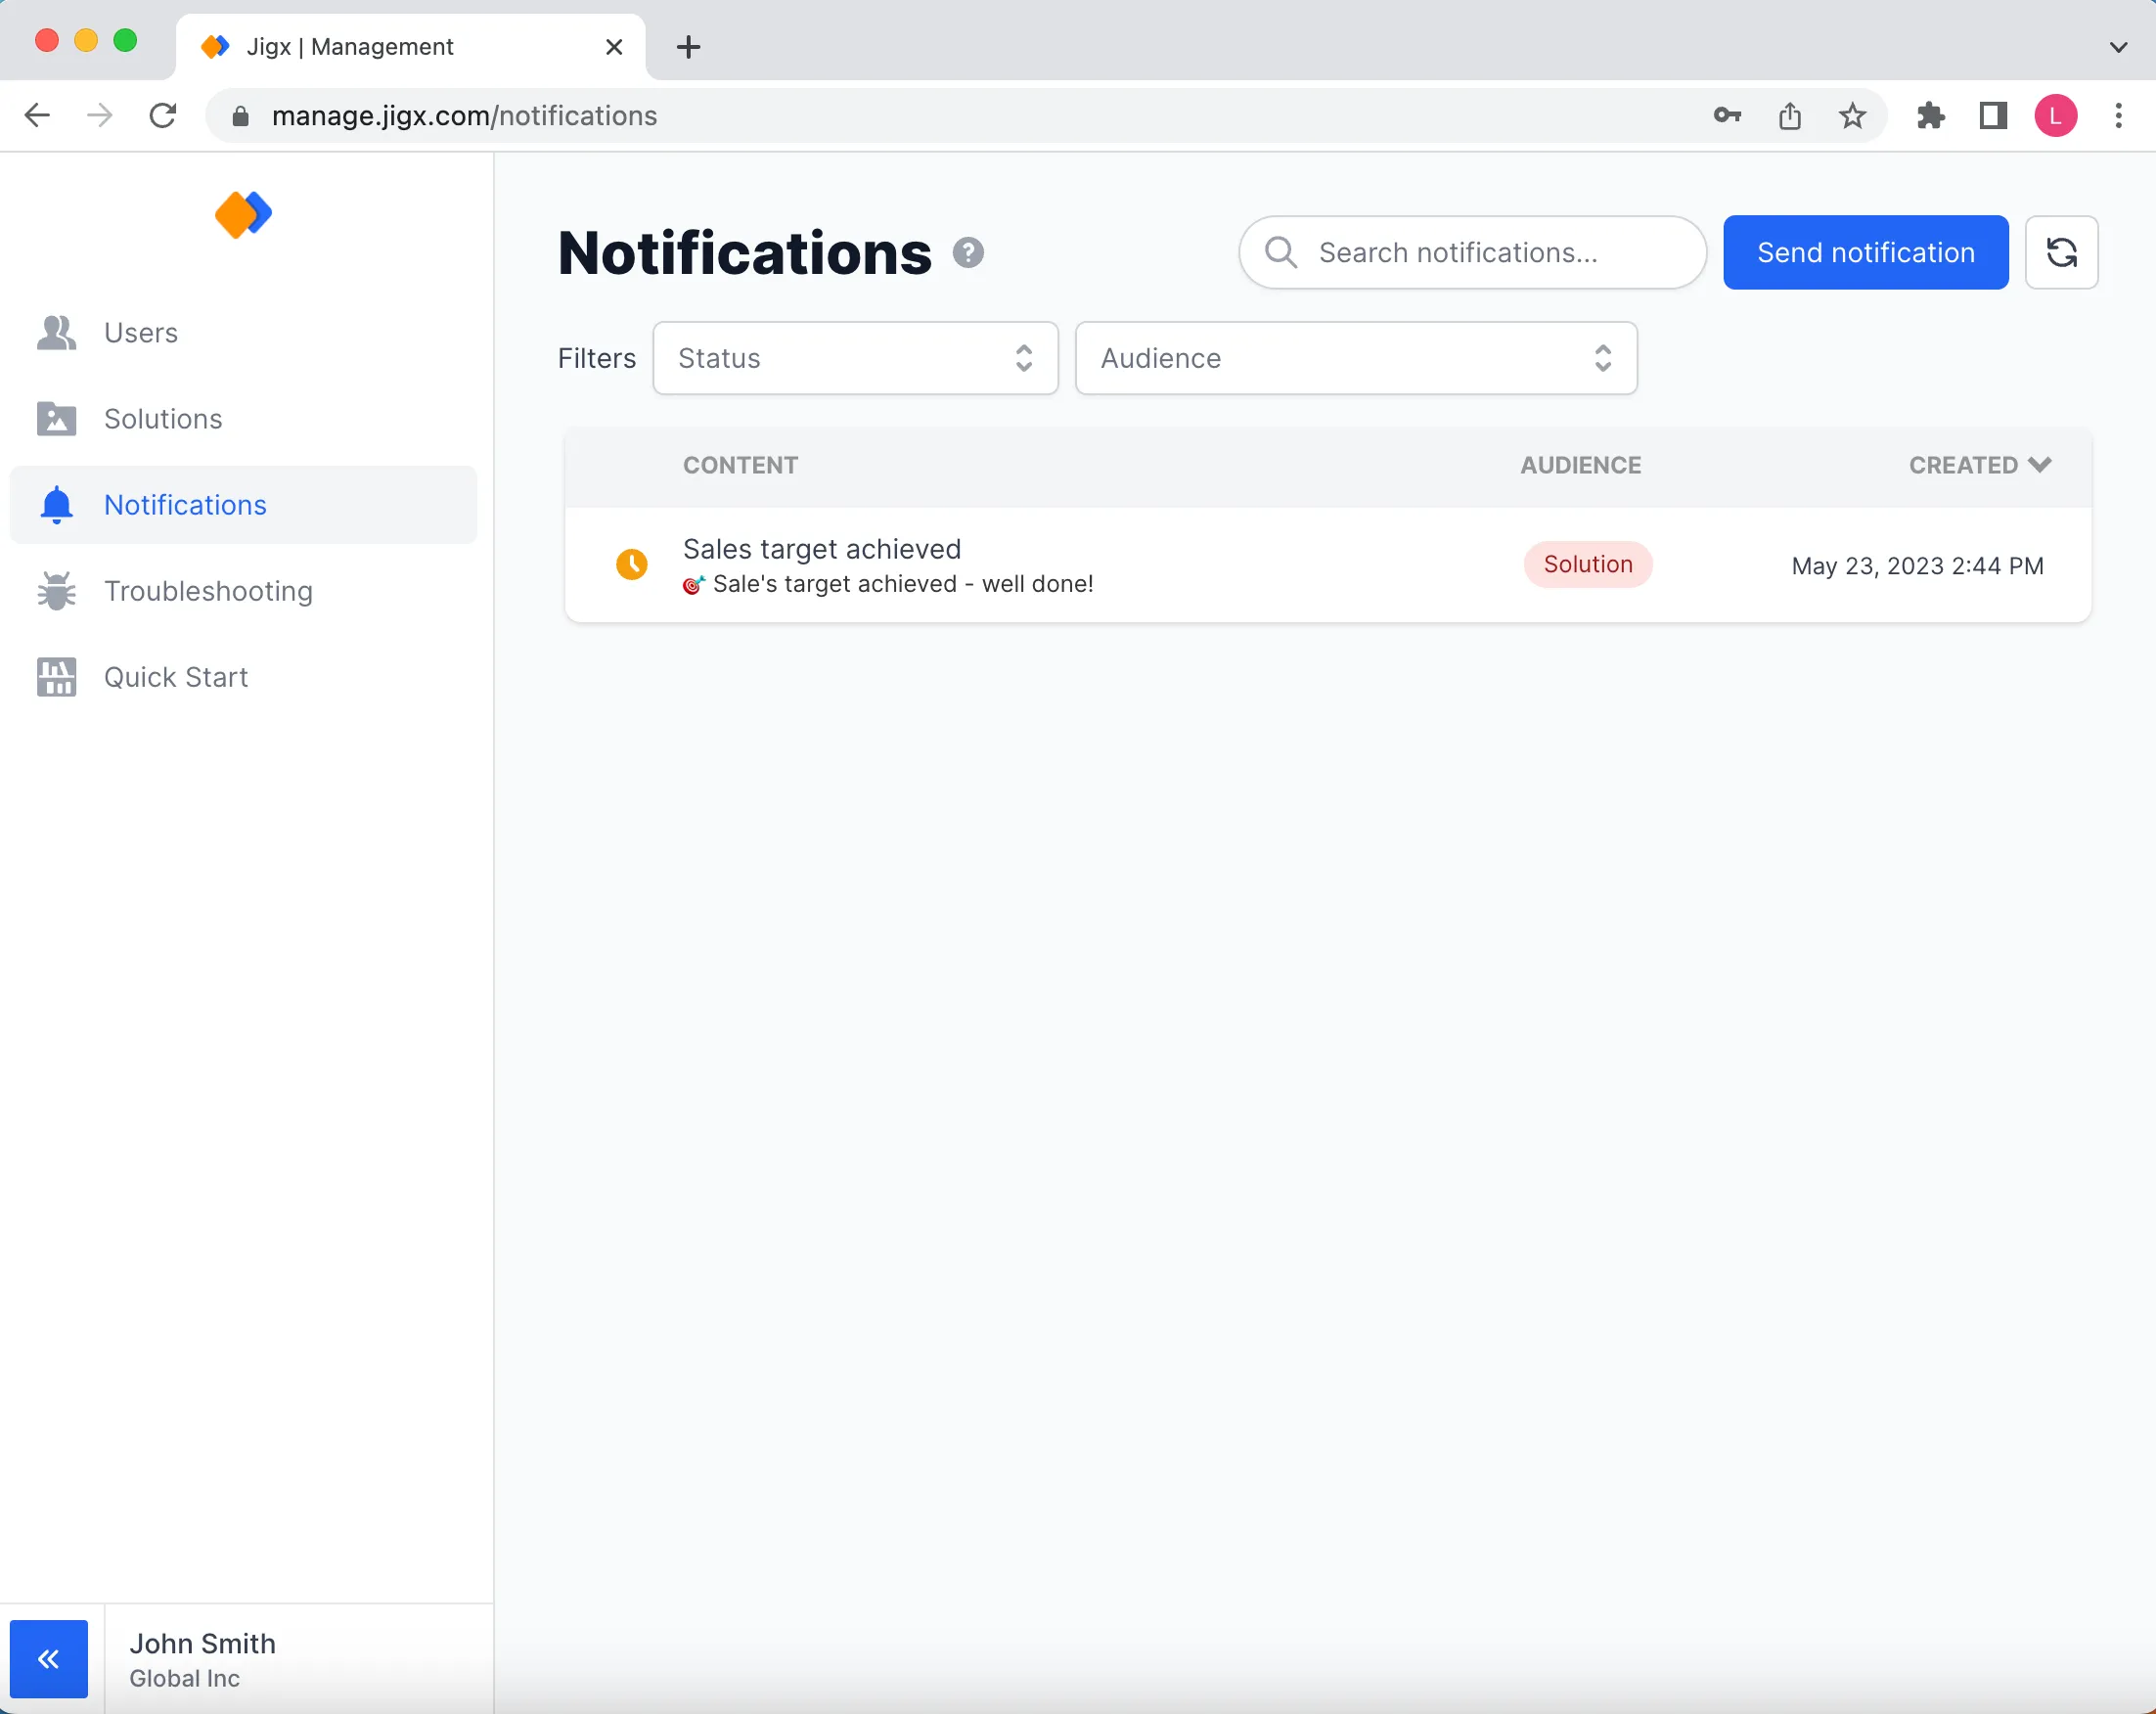
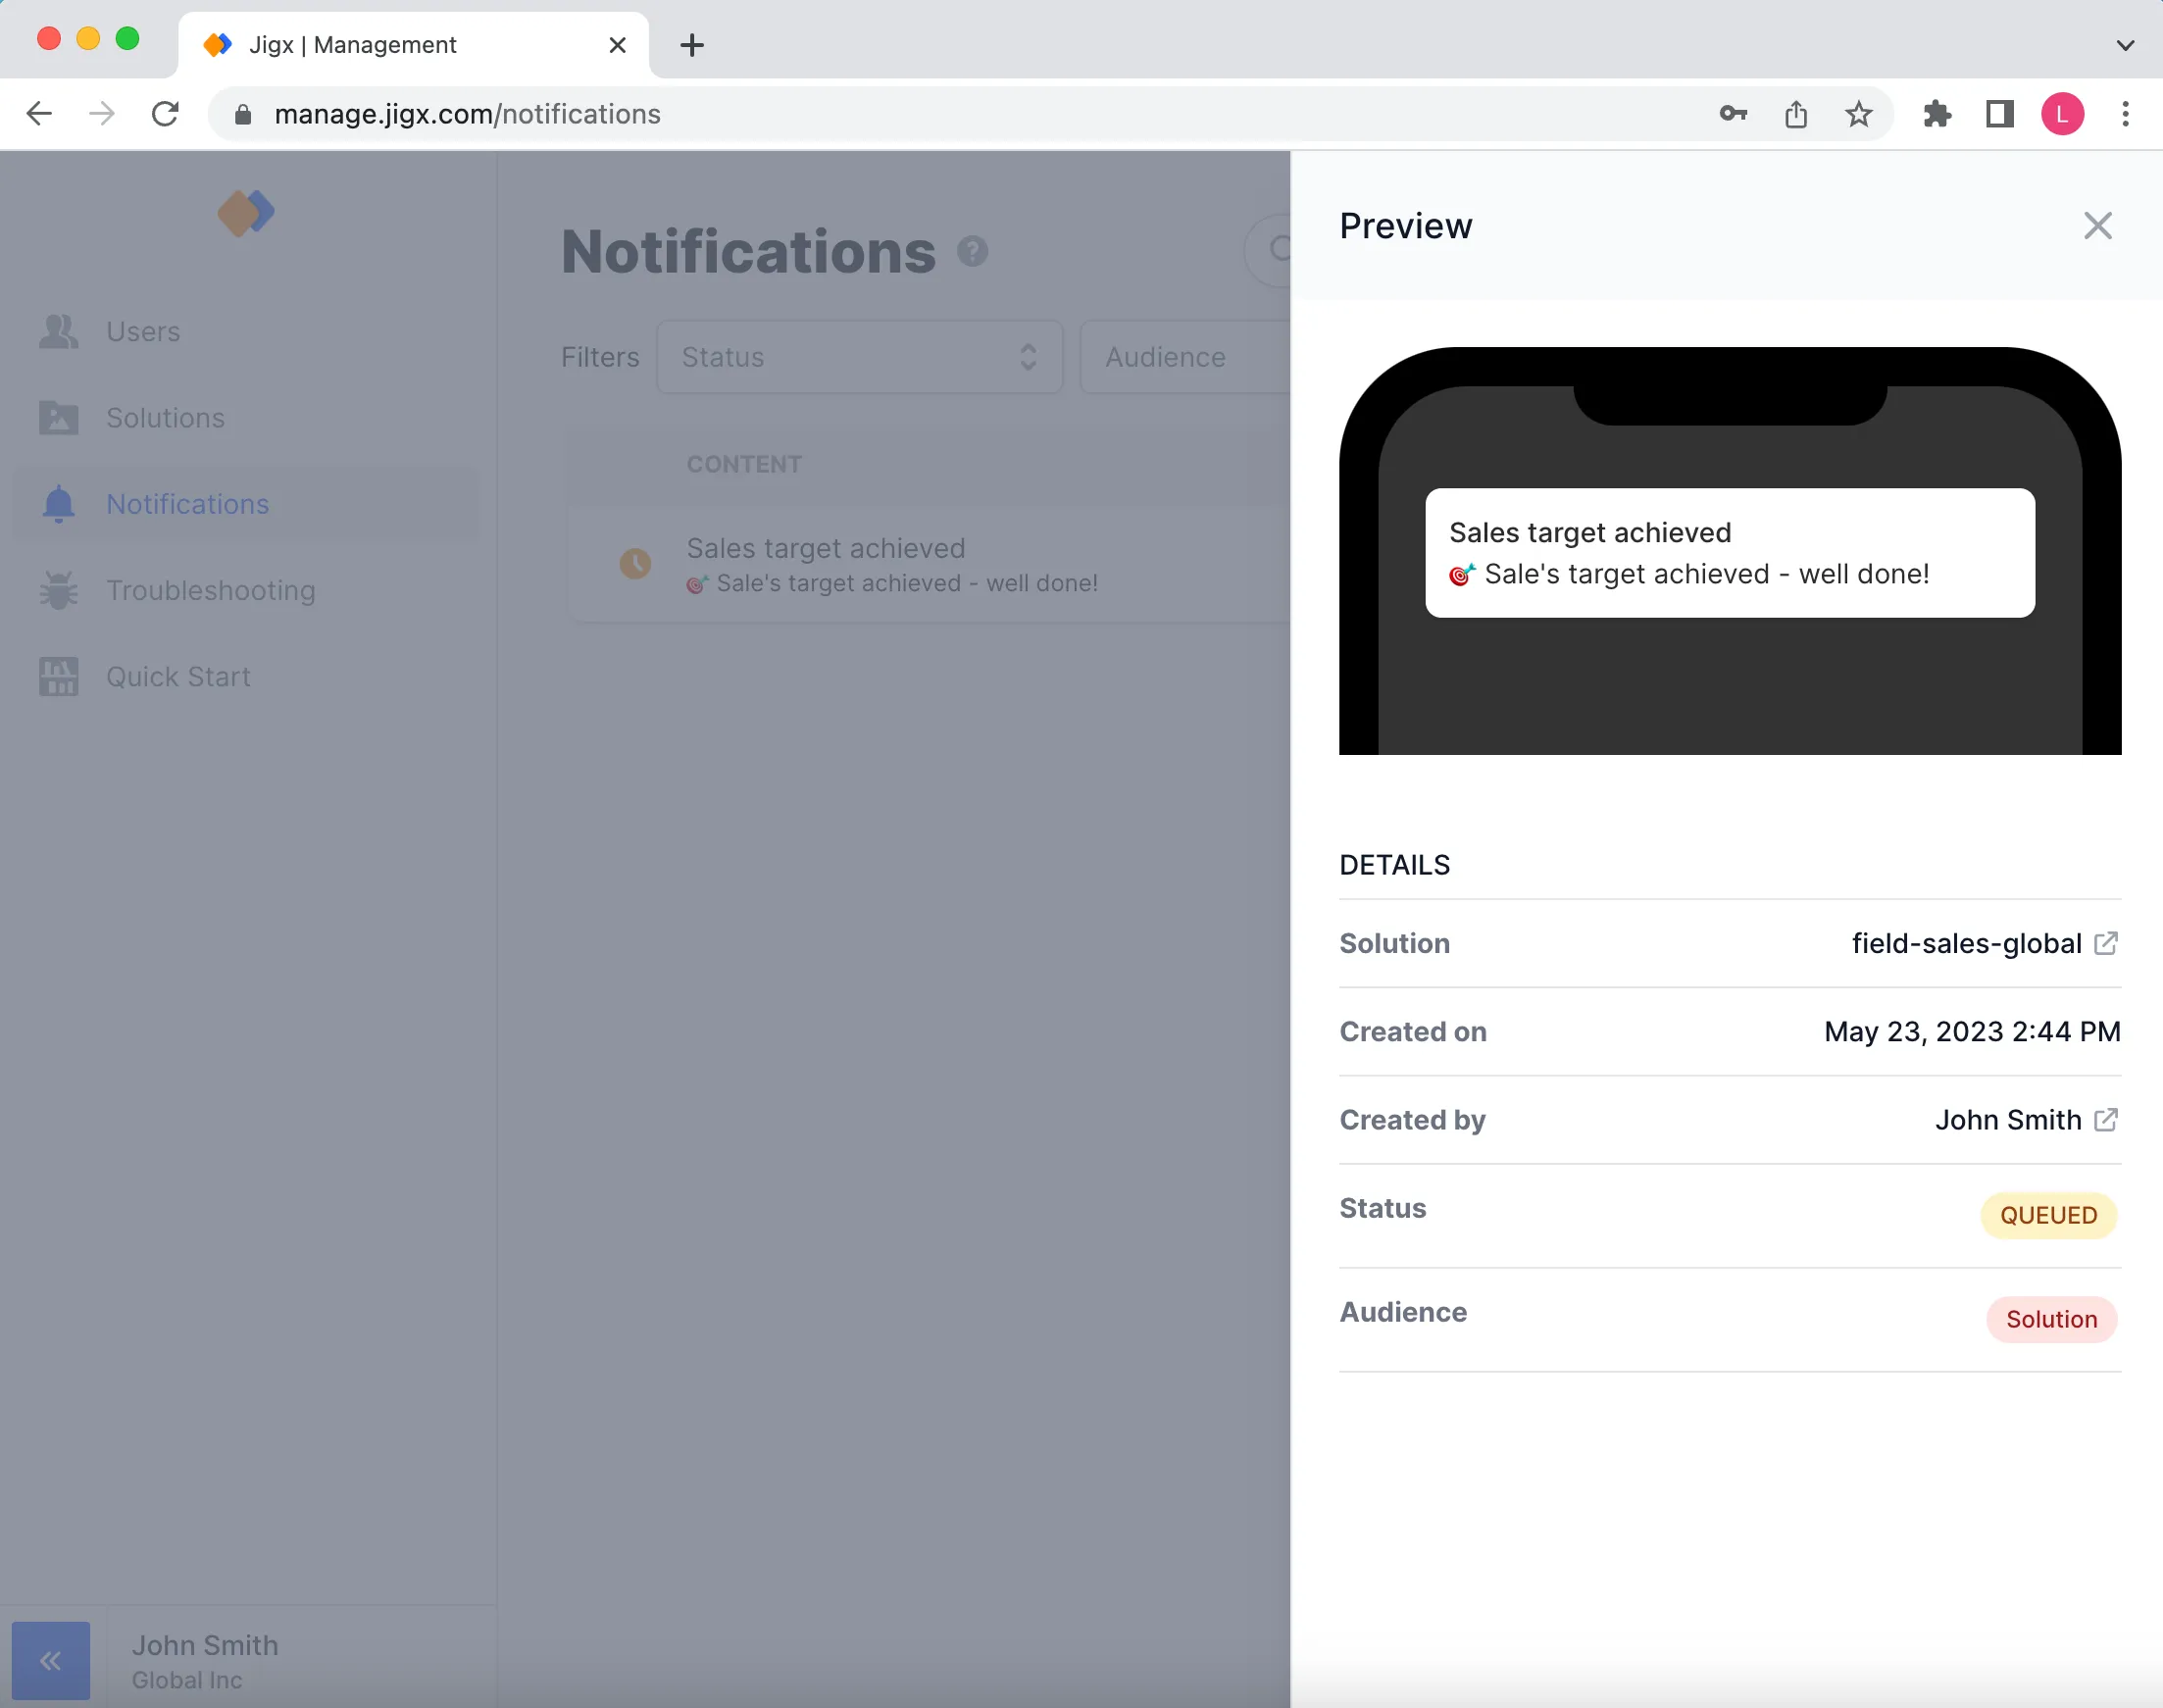
The notifications list shows all notifications being sent from your account, either via or programmatically in a solution. Notifications are put on a queue and the current status of your notification delivery is displayed in the first column. You can check the details of the notification by clicking on the notification title.
Typically all notifications are delivered within a 60 seconds timeframe.

Create notifications in by following the steps below:
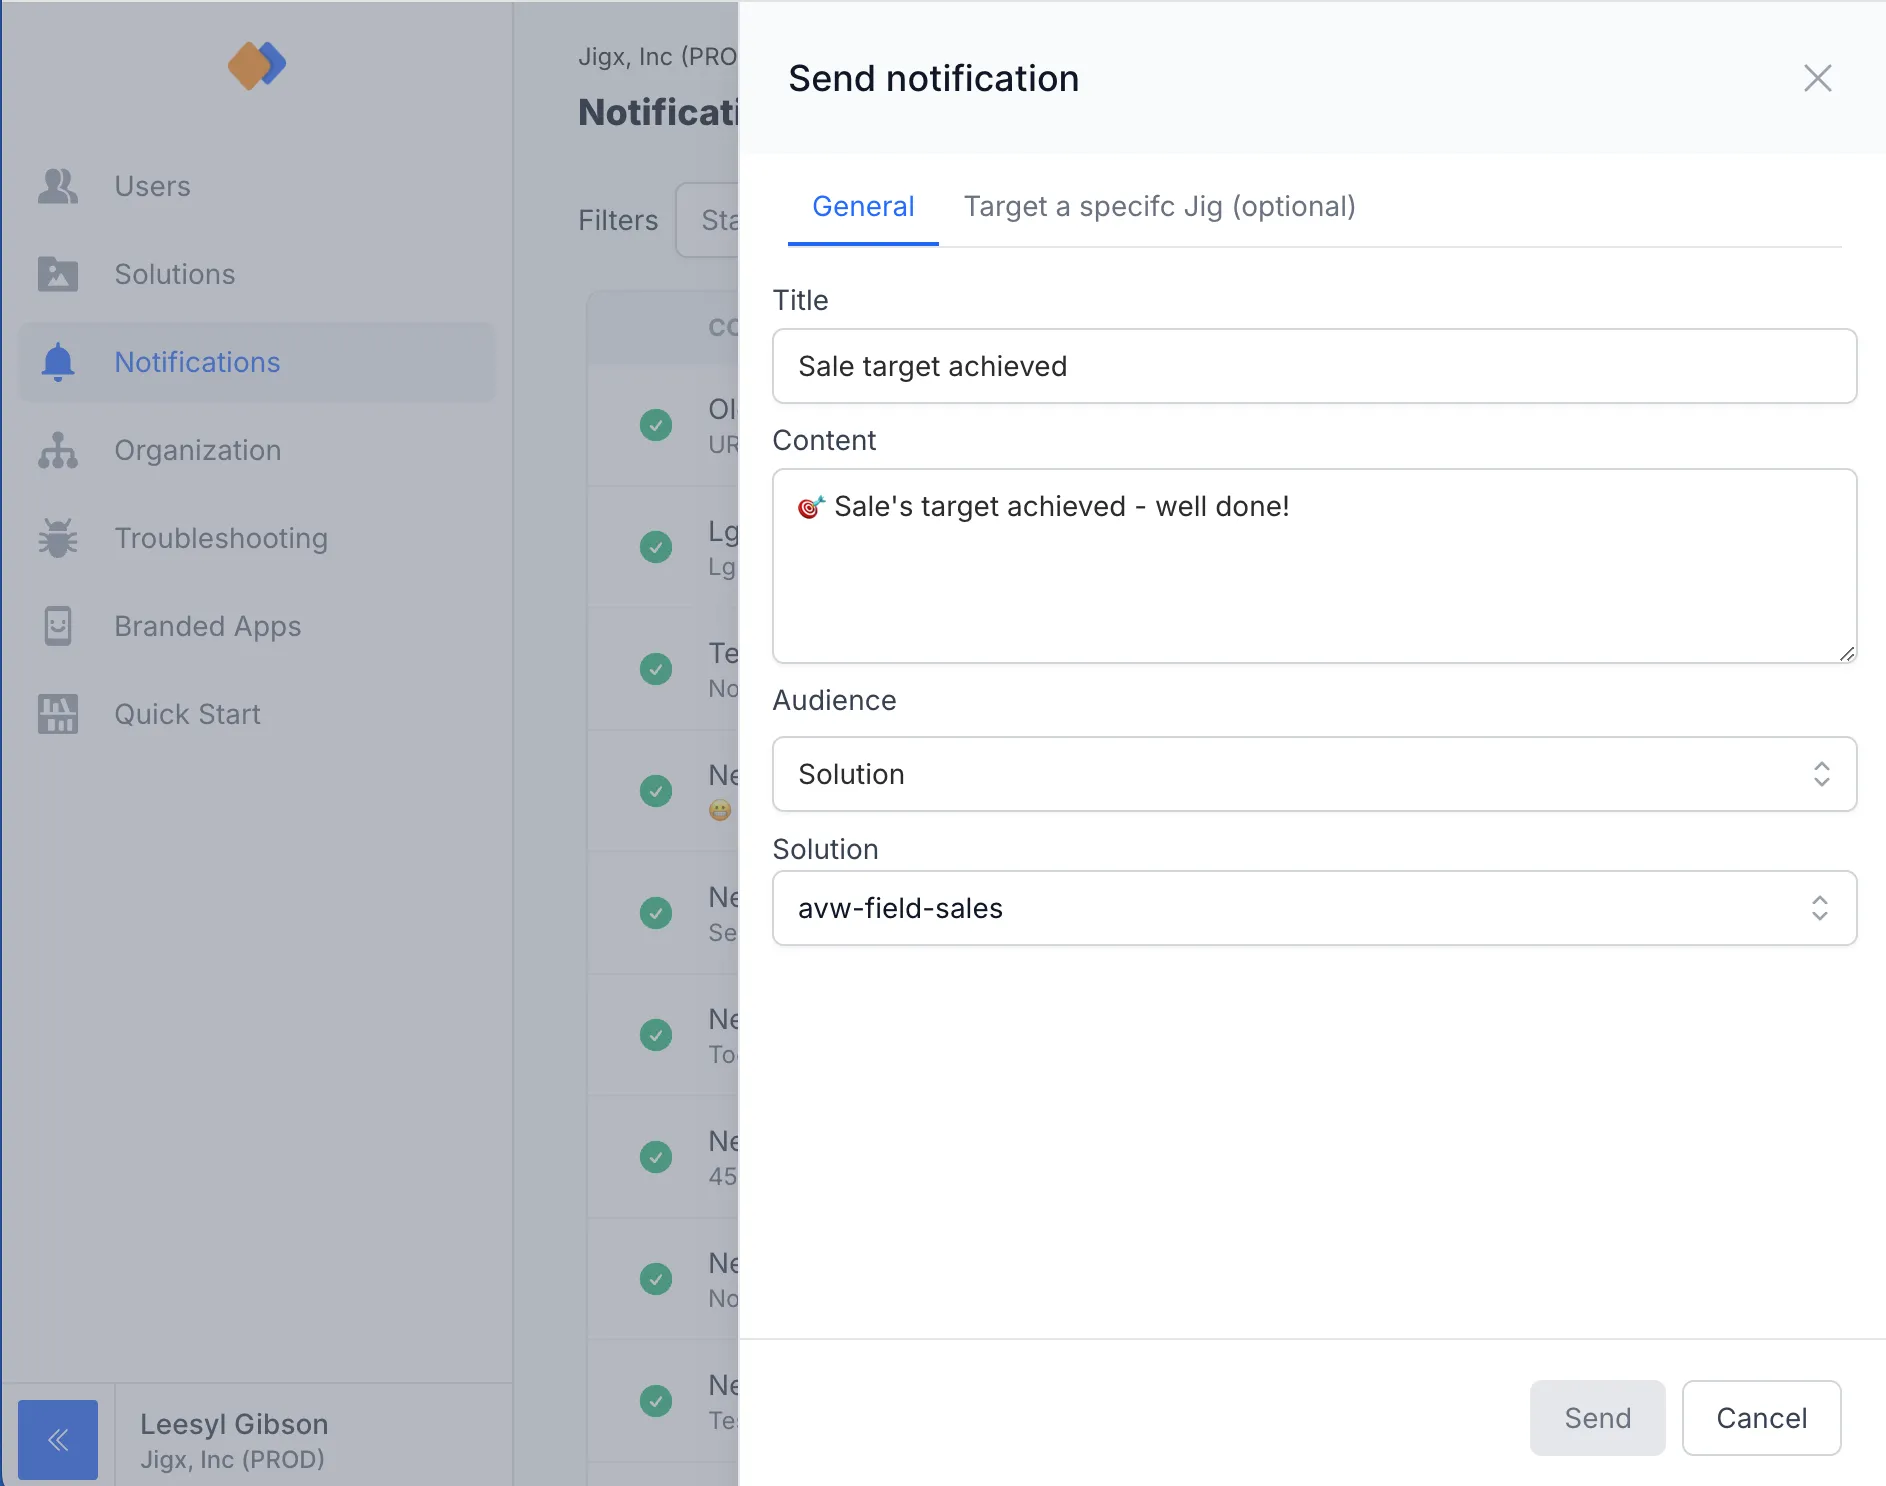
- Click on Send notification at the top of the screen to open the side pane.
- Add a title and content, you can use Emojis 🎉 if you want. Both title and content will be displayed to the user in the push notification and in-app notification preview on their devices.
- Next, decide who your target audience will be:
- Users: Send to specific users, e.g. John and Mary. Click the + choose specific users to select users from the organization's global user's list.
- Solution: Send to all users that have a specific solution assigned to them, e.g. all users who use the sample-crm solution. Select the solution name from the Solution dropdown list.
- Solution Groups: Send to all users that are in a group of a specific solution, e.g. all managers using sample-crm. Select the solution name from the Solution dropdown, then select the group name from the Groups area. If no groups exist on the solution, no group names will display in the area.
- Organization: Send to all users in the Organization.
4. On the Target a specific (optional) tab, select the in a specific solution that will trigger the notification. This is an optional step. For example, if sales employees tap on your push notification, the mobile app will navigate directly to their list of all open opportunities. 5. Set input parameters for the based on key/value pairs (e.g. accountID / 123456). The solution creator needs to ensure the input parameters are processed.

