Creating a Home Hub
Creating a home screen (hub) for a mobile app can be a great way to enhance the user experience and provide more functionality. In this section, we will explore the benefits of creating a home screen and the steps involved in configuring one.
Steps to customize your :
- Create and configure a with the functionality and style that you require on the . The jig.default or jig.grid are great options to use.
- Use IntelliSense (ctrl+space) to open the list of available options in the index.jigx file, and select tabs.
- In the jigId property, use IntelliSense again to choose the you configured as your .
- Choose an icon that will represent the . The selected icon is displayed as the first icon in the navigation bar at the bottom of the app.
- Add the onLoad or onRefresh events for syncing data.
- You can configure up to four additional tabs by repeating the steps above.
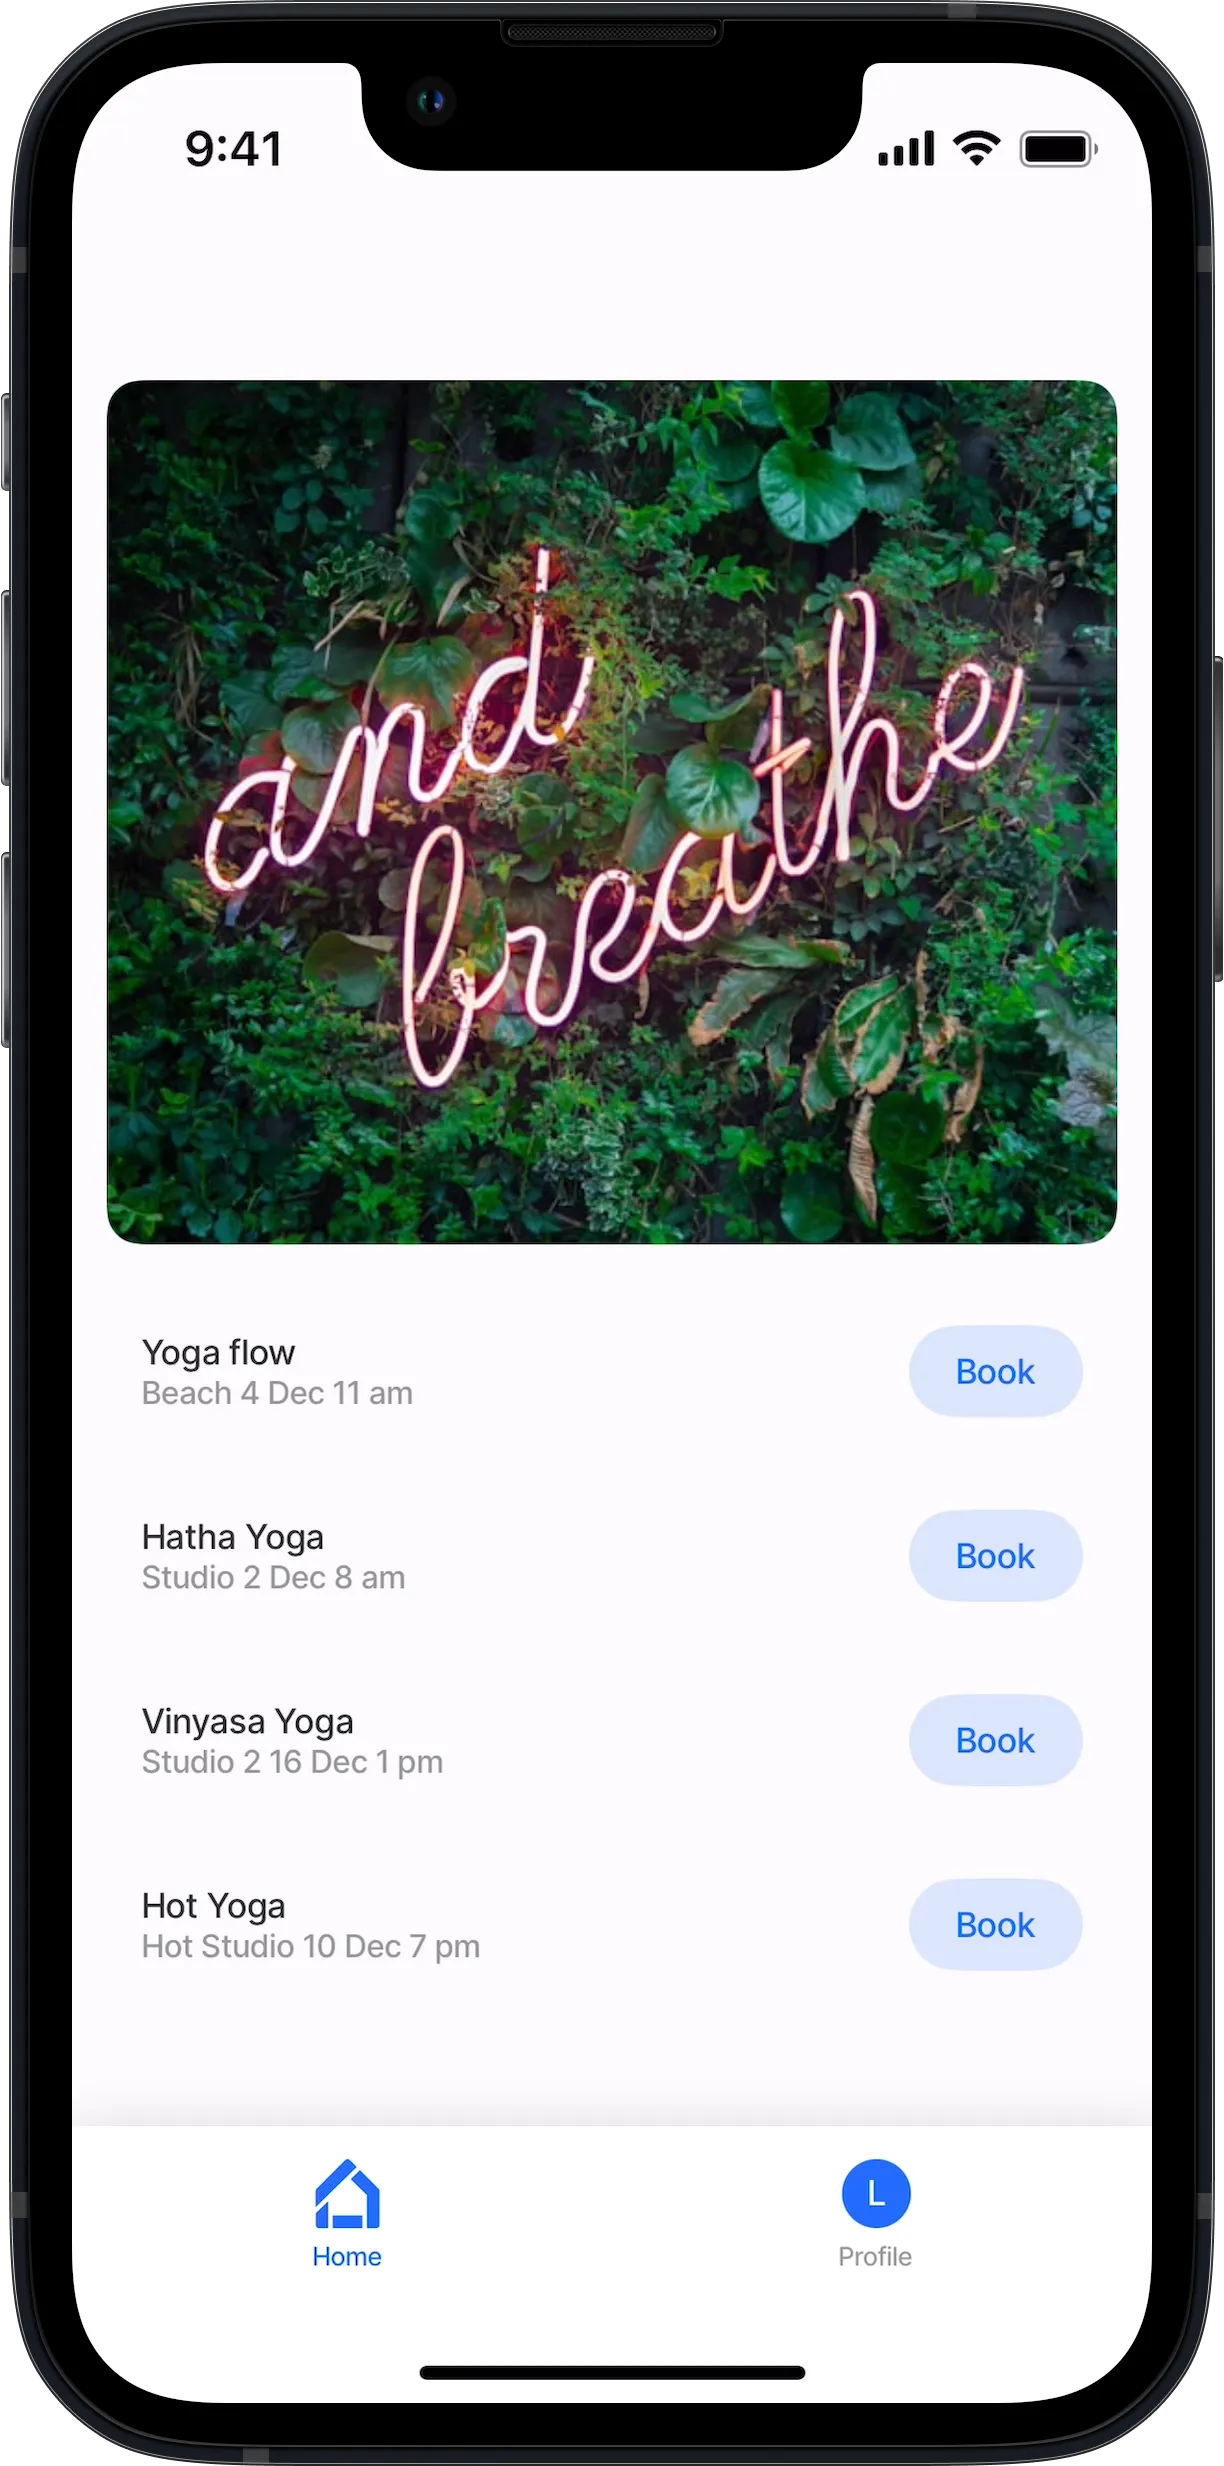
Here is an example of a designed for its simplicity with no titles and no widgets. A jig.default is used with a component.image and component.list.


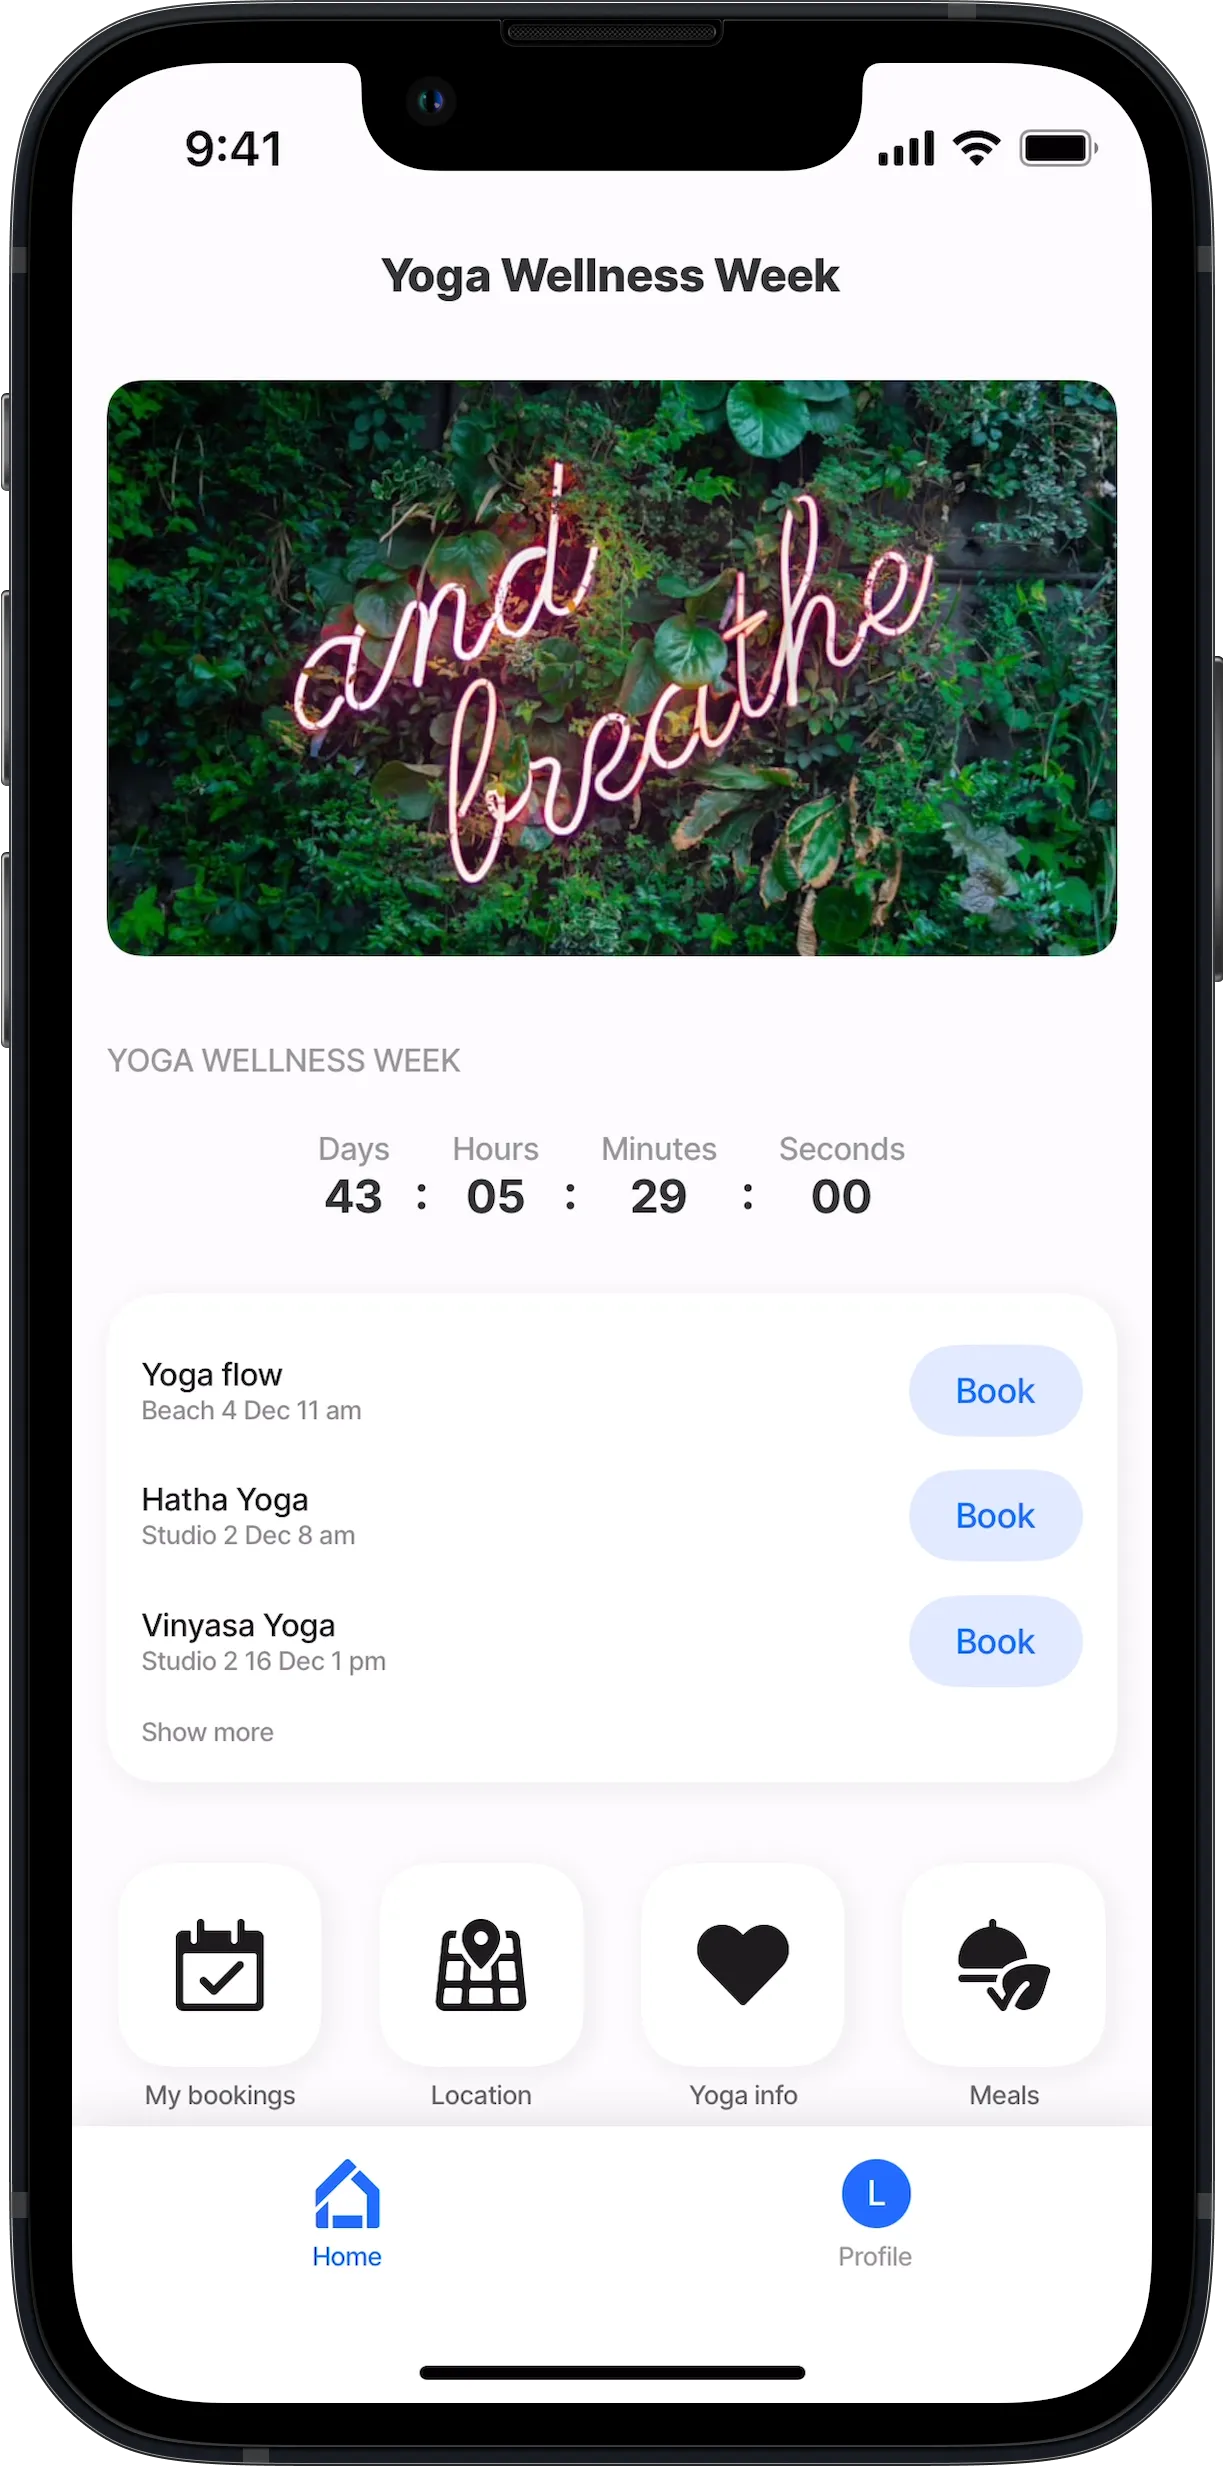
In this example a .default is created with a component.image , component.section, component.countdown and component.grid. The grid component references four s and shows them as widgets that when tapped opens the s.
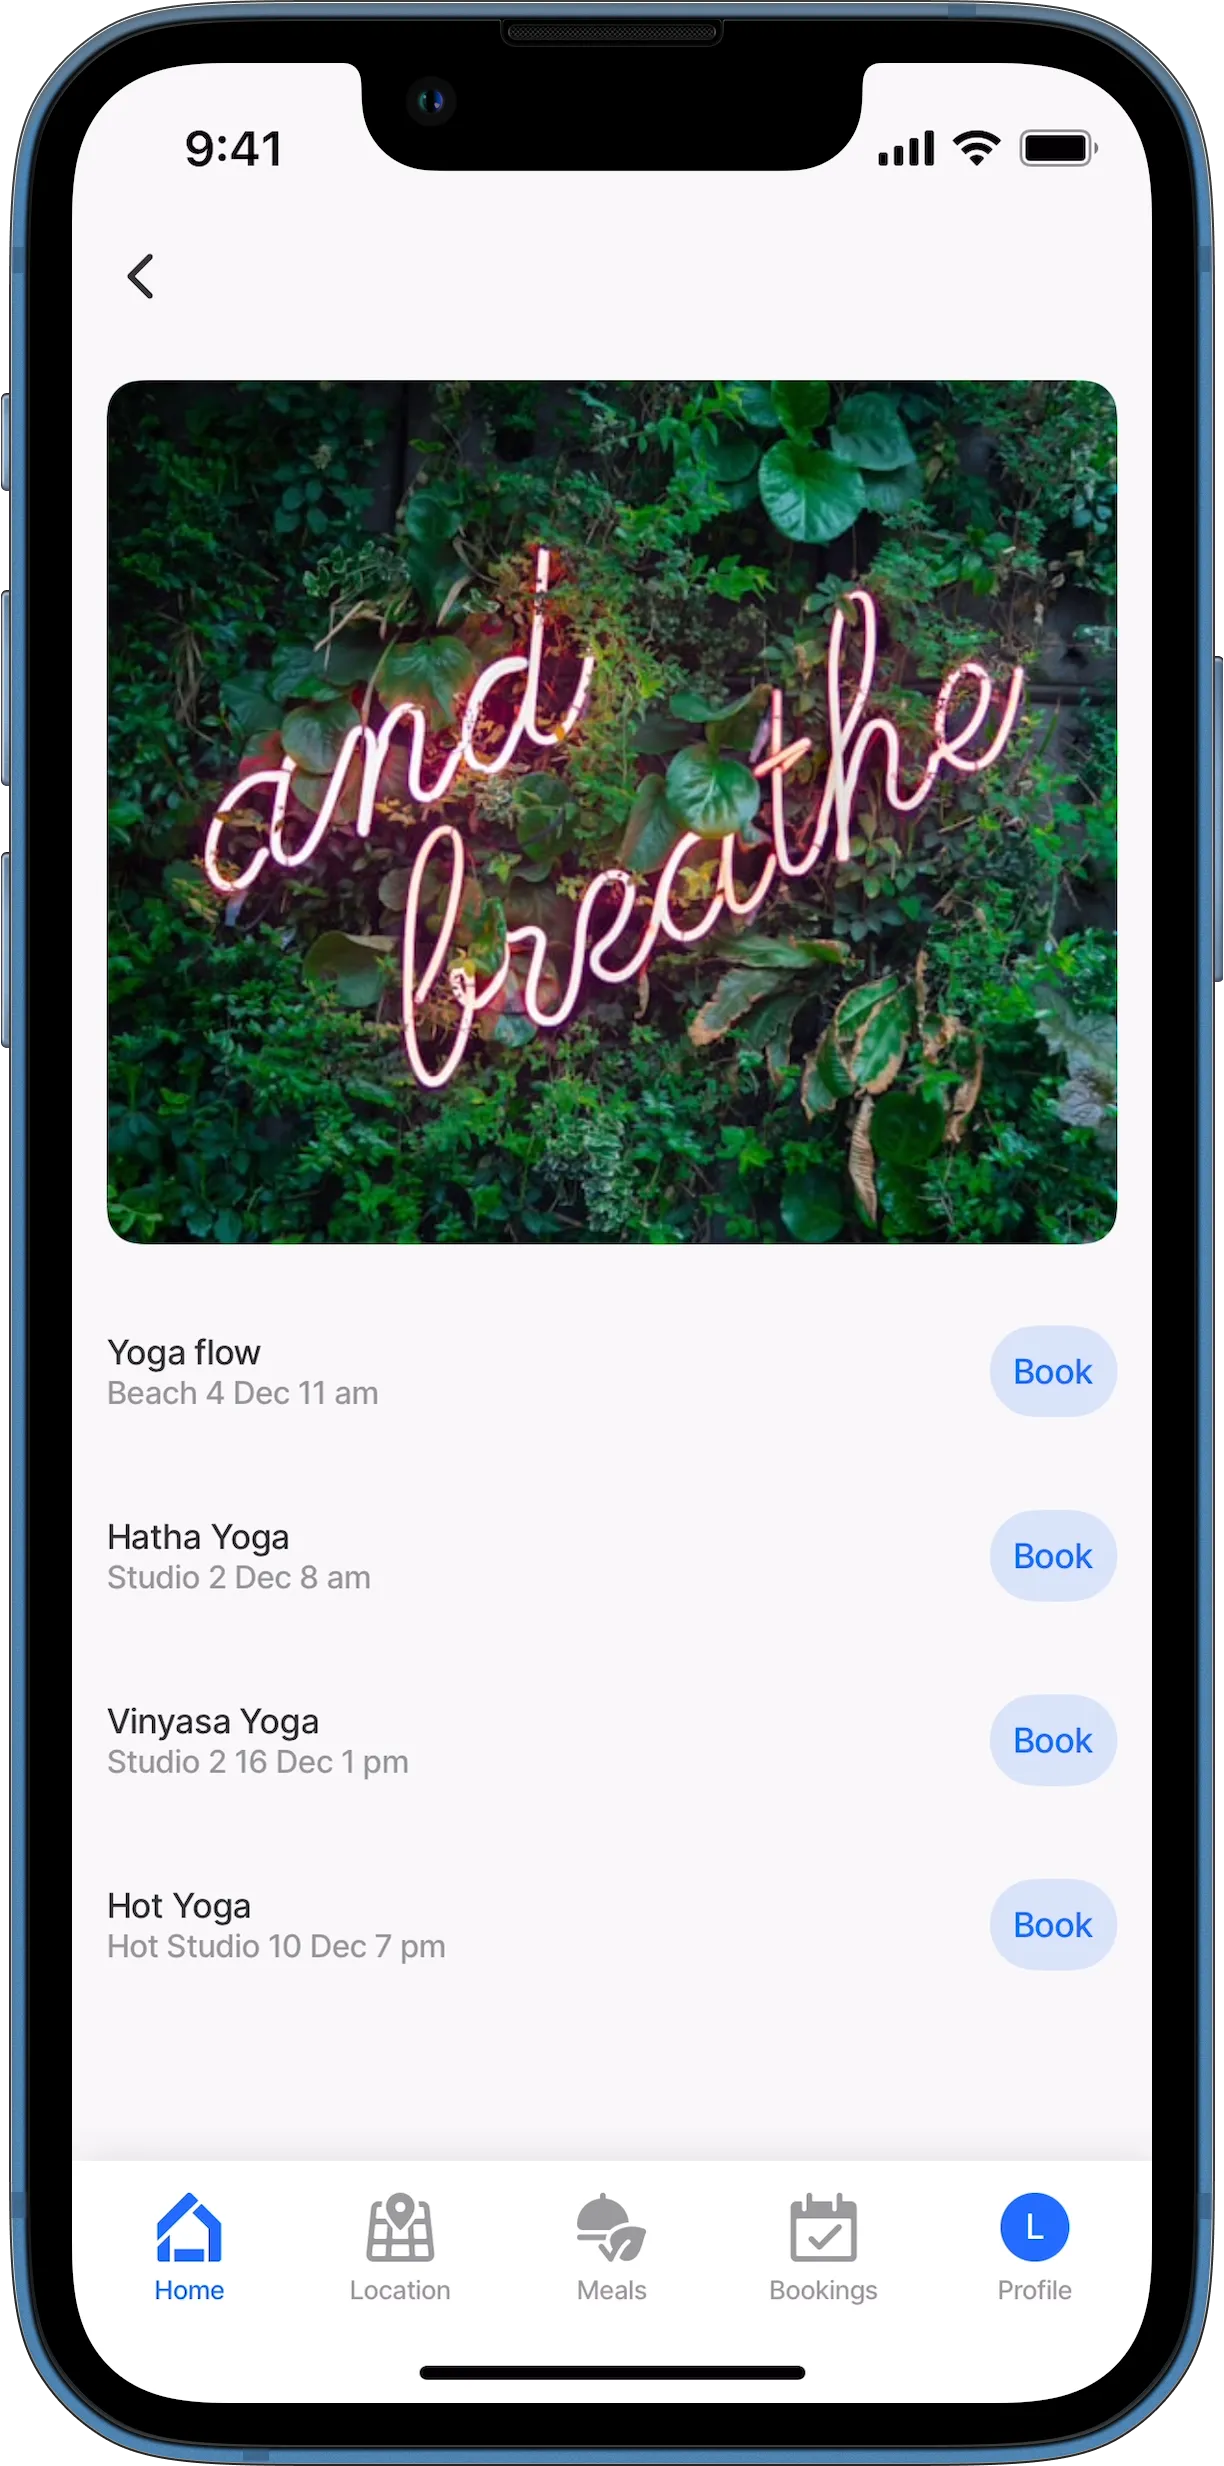
In this example, four s are created. In the index.jigx file, they are configured in the tabs properties, which generates the custom bottom navigation bar.

- Adding videos directly to the should be avoided if possible, instead add a gallery of images that when tapped open a with the video, use grid-item to create the gallery.
- Consider what you add to the as it could impact the app's performance, for example, long lists with data.
- The onload event must be configured on the index.jigx file for syncing data to the device.
- When deciding on the type of to use as the it is recommended to use the jig.default or jig.grid as they provide the broadest scope of components, actions, and widgets.
