Jigs (screens)
In we call screens in the app - s, there are different types of s depending on the type of layout you want in your app.

The following s types are available:
Types | Use | Code Examples |
|---|---|---|
Calendar | Use this to build a calendar to display scheduled events and create new events based on a date and time. | jig.calendar |
Composite | This allows you to display multiple s on one screen where you would otherwise be unable to combine the functionality in the same way. For example, a form and list are on the same screen, where the form on completion populates the list with data. | |
Default | The default is the most versatile and provides the majority of functionality and a combination of different components and actions. The most common use of a default is for forms and lists. | jig.default |
Document | Used to show PDF files or HTML pages inside your app. | jig.document |
Full-screen | Create a full screen to show a location across the entire screen. | |
Grid | Create grid layouts in your app, organizing content into rows and columns for a visually consistent and flexible interface. It helps align elements proportionally, ensuring a structured design. | jig.grid |
List | jig.list | |
Tabs | Navigate between different s with ease, enhancing the user experience by providing an organized layout. These tabs are placed at the top of the screen to ensure a sleek and intuitive interface. | jig.tabs |
- All files have the format name.jigx. You can add the name, and we will automatically add the extension.jigx for you.
- All files must be located under the s folder in .
- For your s to be included in the app solution, they must either be added to the index.jigx file (to appear on the home screen) or referenced by another that is included in the index.jigx, for example, is referenced by the go-to or go-back actions.

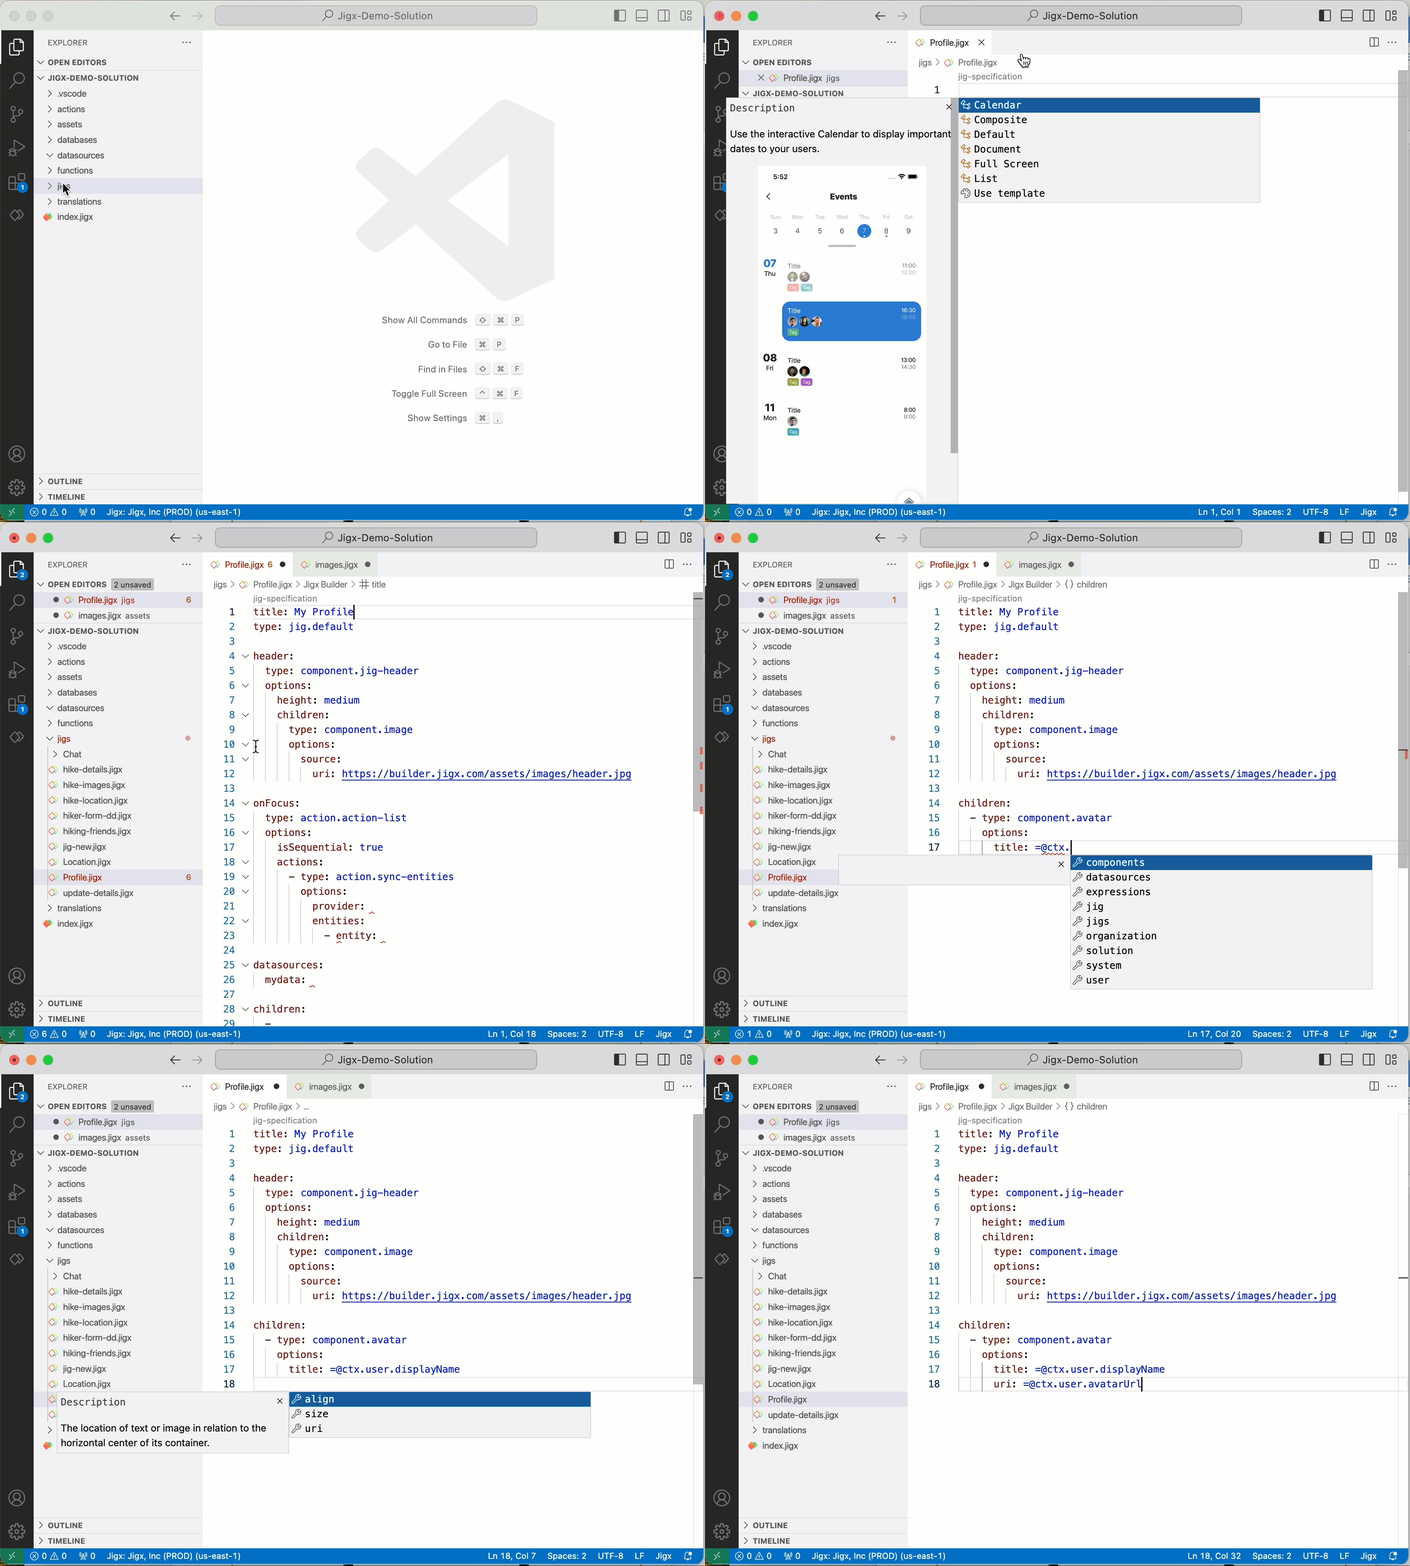
- Right-click the s folder and select New File...
- Type a unique name for the and press enter, the name must not contain any spaces. The file opens in the editor.
- Use IntelliSense (cntrl + space) in the file and select the type of you will build.
- Once the type is selected, the file populates with the core YAML structure ready for you to configure.
- Add your values or remove the YAML that is not required, for example, if you do not want a header image at the top of the screen, remove the header: section.
- The validates the YAML; any issues are shown in red and need to be corrected before you can publish the solution.
- If you want the to be accessed from the , add the to the tabs in index.jigx file. Otherwise, reference the from another for it to be included in the app.
- Open your solution in .
- Click on the you want to edit, the editor opens.
- Make the required changes.
- Open your solution in .
- Click on the you want to edit, the editor opens.
- Make the required changes.
There are two options available for joining s which depend on your requirements.

- Use the jig.composite type to combine multiple s into one.
- Provide the jigId for each of the s to be included.
- The order of the jigIds configured in the YAML determines the order in which the jigs appear in the composite .
- There are properties available to hide the title of each (isTitleHidden).
- Provide inputs into each if required.
- Add the widgets property to a . Configure the size and jigId for all the jigs you want to navigate to from the current .
- The order of the jigIds configured in the YAML determines the order in which the widgets appear in the .

In certain scenarios, there is a need to transfer data, such as customer IDs or opportunity IDs, from one to another. This can be effectively accomplished by utilizing inputs and outputs. See Passing data using inputs and Passing data using outputs to understand the configuration options.
The following examples with code snippets are provided:
