text-field
The text field is a versatile component, allowing many variations and configurations. It allows users to enter letters, numbers, and special signs on a single or multiple lines.

Core structure | |
|---|---|
instanceId | Provide a unique Id for the component that can be referenced elsewhere. |
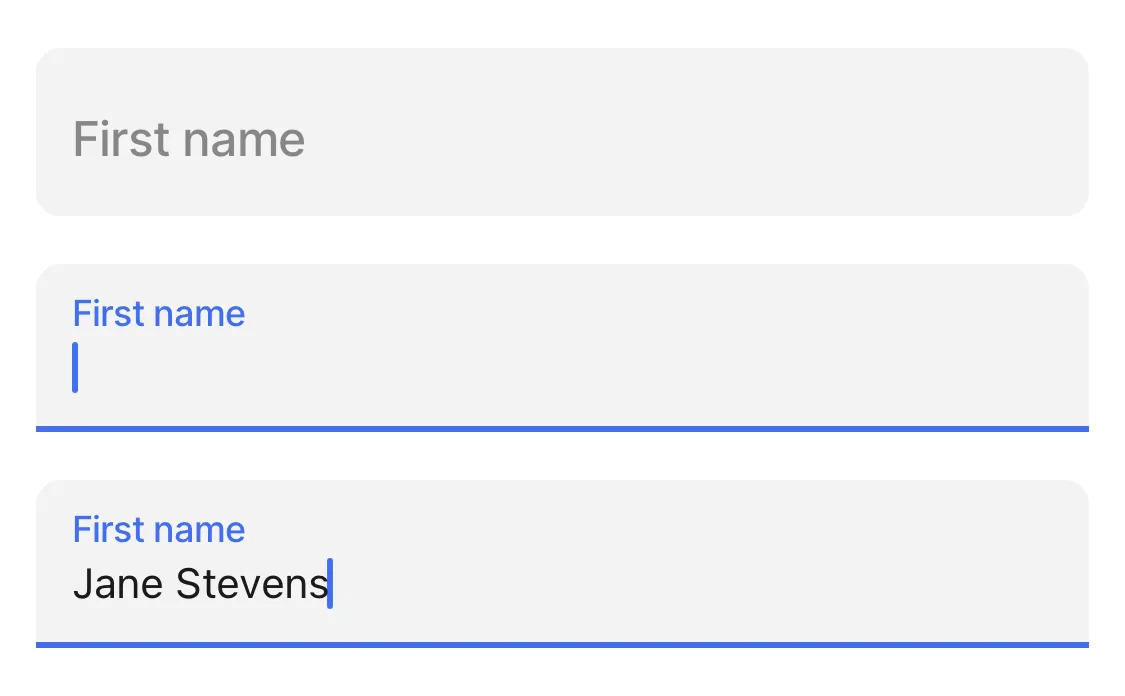
label | Give the field a label. Label is displayed as placeholder when no value is provided. |
Other options | |
|---|---|
autoCapatilize | This property automatically capatilzes certain parts of the text input depending on the selection made. The keyboard caps lock is automatically set depending on the selection made. This property is not supported by certian keyboard types such as name-phone-pad. The following options are available: characters - capatilizes the all characters. sentences - capatilizes all words in a sentence. none - nothing is automatically capatalized. words - capatilizes all words. |
color | There is a list of colors available. The color is used in combination with the condition when. See Jigx color palette for the available color options. |
errortext | Add text, string, or expressions to show text under the text-field indicating an error/invalid value in the field. Text is shown in isNegative (red) styling with a red exclamation icon on the right. |
format | Text format of the value entered. For example, percentage or currency. Formatting only displays in the app when the input field is set to disabled (read-only). |
helperText | Add text, string, or expressions to guide users by showing text under the number-field. Helper text is displayed only when there is no errorText. |
KeyboardType | Determines which keyboard to open. There is a list to select from, certain keyboard selections require a specific device or virtual keyboard. |
icon | There is a list of icons available, see Jigx icons for more information. |
initialValue | The initialValue is the value that will be displayed in the text-field when the form is initially loaded. You can use this property to preset the field with default text so that you do not have to manually select it. Useful when creating an edit or update form. Using the reset-state action with initialValues does not clear the field, it resets the field back to it's initialValue. |
isAutocorrected | Set to false, disables auto-correct. The default value is true. |
isAutoFocused | If true the text-field will get focus immediately after the form is displayed and the keyboard will be opened automatically. |
isHidden | If true the text-field will be hidden on the form. If set to false the field will be shown. |
isIgnored | When true, the field will be ignored when submitting the form and the content will not be stored. |
isMultiline | Set to true allows for multiple line text input. The default value is false setting the field to single line. |
isOptionalLabelHidden | If the field is optional you can turn off the "(optional)" label by setting this field to true. This property works in combination with isRequired: false. |
isRequired | Set to true when the field is required. Useful when you use it in form submission as the submit button remains disabled until the text-field has an input. Set to false the field is optional and will have (optional) in the label. |
isReturnKeyEnabledAutomatically | When set to true, the keyboard disables the return/done key when there is no text and automatically enables it when there is a text. The default value is false. |
isSensitive | If set to true, the input obscures the text entered so that sensitive text stays secure. For example, bank card account details, passwords or salary details. |
istextClearedOnFocus | When set to true, the text-field is automatically cleared when editing begins. |
minLength | Specifies the minimum number of characters allowed in the field. |
maxLength | Specifies the maximum number of characters allowed in the field. |
nextProperty | Name of the property you want to focus next in the form when you use return/next on a keyboard. |
returnKeyType | Determines the label of the return key on the keyboard, for example, done, search, join or next. On Android you can use returnKeyLabel. |
style | The following property settings are available: - flex - Flex property if rendered inside row. - isBusy - Displays spinner on right side of field. It removes any configured icon. - isDisabled - disables the number-field preventing any input text. - isPositive - a green icon displays on the right of the number-field. More than one can be true. It will be evaluated based on priority. |
textArea | Sets the height of the text area. This property should be used in conjunction with isMultiline. The following property settings are available: - dynamic allows the height to change based on the text content. - small - medium - large set the height to a relative size with a dynamic edit size. The default is undefined, which uses a static height. |
textContentType | If you have setup your phone with your details these can be used as autofill hints to select for populating the text-field. For iOS 11+ you can set textContentType to username or password to enable autofill of login details from the device keychain. For iOS 12+ newPassword can be used to indicate a new password input the user may want to save in the keychain, and oneTimeCode can be used to indicate that a field can be autofilled by a code arriving in an SMS. To disable autofill, set textContentType to none. |
Value | The value to show in the text-field when the form initially loads. This can be combined with the isDisable style to preset the value that cannot be edited on the form. |
Actions | |
|---|---|
onChange | The action is triggered when the content in the text-field is changed. Use IntelliSense (ctrl+space) to see the list of available actions. |
State Configuration | Key | Notes |
|---|---|---|
=@ctx.component.state. | value |
|
=@ctx.solution.state. | activeItemId now |
|
- When using the contentType: phone, ensure the phone number entered contains no spaces; this allows you to click on the field to initiate a call from your device.
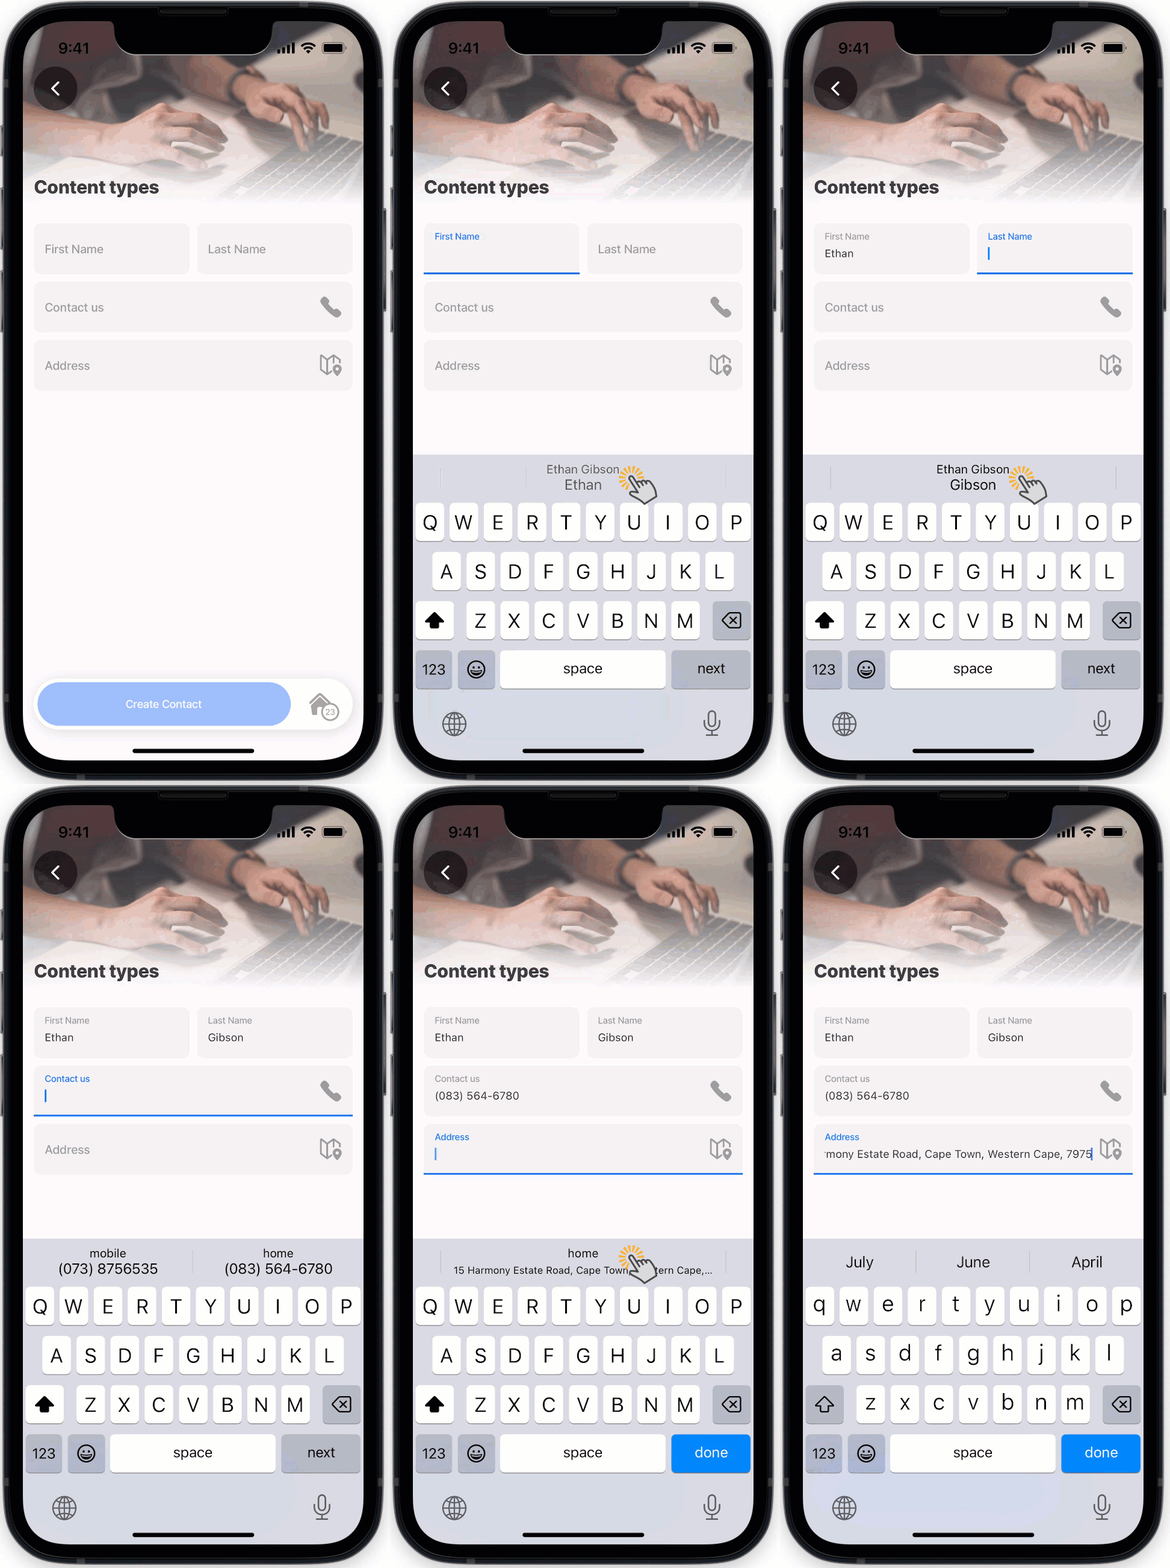
Setting certain information in your device, for example in Settings on iPhone, will allow you to be able to autofill forms quickly and accurately. Then use the contentType property in the text-field on a form to specific the type, such as name, address, credit-card and more. If the information is available on the device, tapping on the field will provide an autofill hint that can be selected and the field will autofill with the details.


